
You have unlimited access as a PRO member
You are receiving a free preview of 3 lessons
Your free preview as expired - please upgrade to PRO
Contents
Recent Posts

- Object Oriented Programming With TypeScript
- Angular Elements Advanced Techniques
- TypeScript - the Basics
- The Real State of JavaScript 2018
- Cloud Scheduler for Firebase Functions
- Testing Firestore Security Rules With the Emulator
- How to Use Git and Github
- Infinite Virtual Scroll With the Angular CDK
- Build a Group Chat With Firestore
- Async Await Pro Tips
Chatbot in Angular With DialogFlow API.ai
Episode 58 written by Jeff Delaney
In this lesson, we are going to build a chatbot in Angular from scratch using the Dialogflow conversation platform (formerly known as API.ai). Natural language processing (NLP) is one of the most challenging problems in machine learning. Over the past couple years, advances in large scale deep neural networks have made NLP technology available to the average developer.
In addition to Angular, you can deploy your bot to a wide variety of platforms with a single click - including Slack, Facebook Messenger, and many others.
This project is open source and can be found on github - Angular Chatbot.
Initial Setup Guide
Follow the steps below to get up and running quickly.
New Angular App from Scratch
For this tutorial, I will be starting a brand new Angular app from scratch. Make sure you are using v4.2 or later to take advantage of new Angular Animation features.
npm install -g @angular/cli |
Install Required Libraries
Our app has a only one extra dependency - the DialogFlow JavaScript SDK. It is written in TypeScript, so we can install it to the dev dependencies.
Currently, the SDK is still named api-ai, but I imagine this will change to dialogflow in the future. You can find the latest official SDKs here.
npm install api-ai-javascript --save-dev |
Fleshing out a Feature NgModule
We’re going to put all of our code into a feature module. This is a good practice in Angular to keep your code isolated and maintainable.
ng g module chat |
The module should look like this. We only need to add the Angular FormsModule to the imports and add the ChatDialogComponent to exports.
/// chat.module.ts |
Then import the chat module into the app module
import { BrowserModule } from '@angular/platform-browser'; |
Now we have an isolated feature module that can be used in the main app.
You can also do this by loading the component with the Angular Router, but our app is not using routing for this example.
<!-- app.component --> |
Building a Basic DialogFlow Agent
Now that we have a basic Angular app, let’s configure our first chatbot Agent in Dialogflow.
Create an Agent
An Agent is essentially a container for a chatbot. You should try give them tasks that they can solve easily - set them up for success. In this example, I am giving my agent a name of AngularBot.
Create an Intent
An intent is something your user is trying to accomplish. Here’s how the cycle works.
- User invokes an intent by ask “How do I do XZY”?
- Bot recognizes question
- Attempts to fulfill the intent by asking more questions or doing something on the backend.
Now let’s create a simple intent.
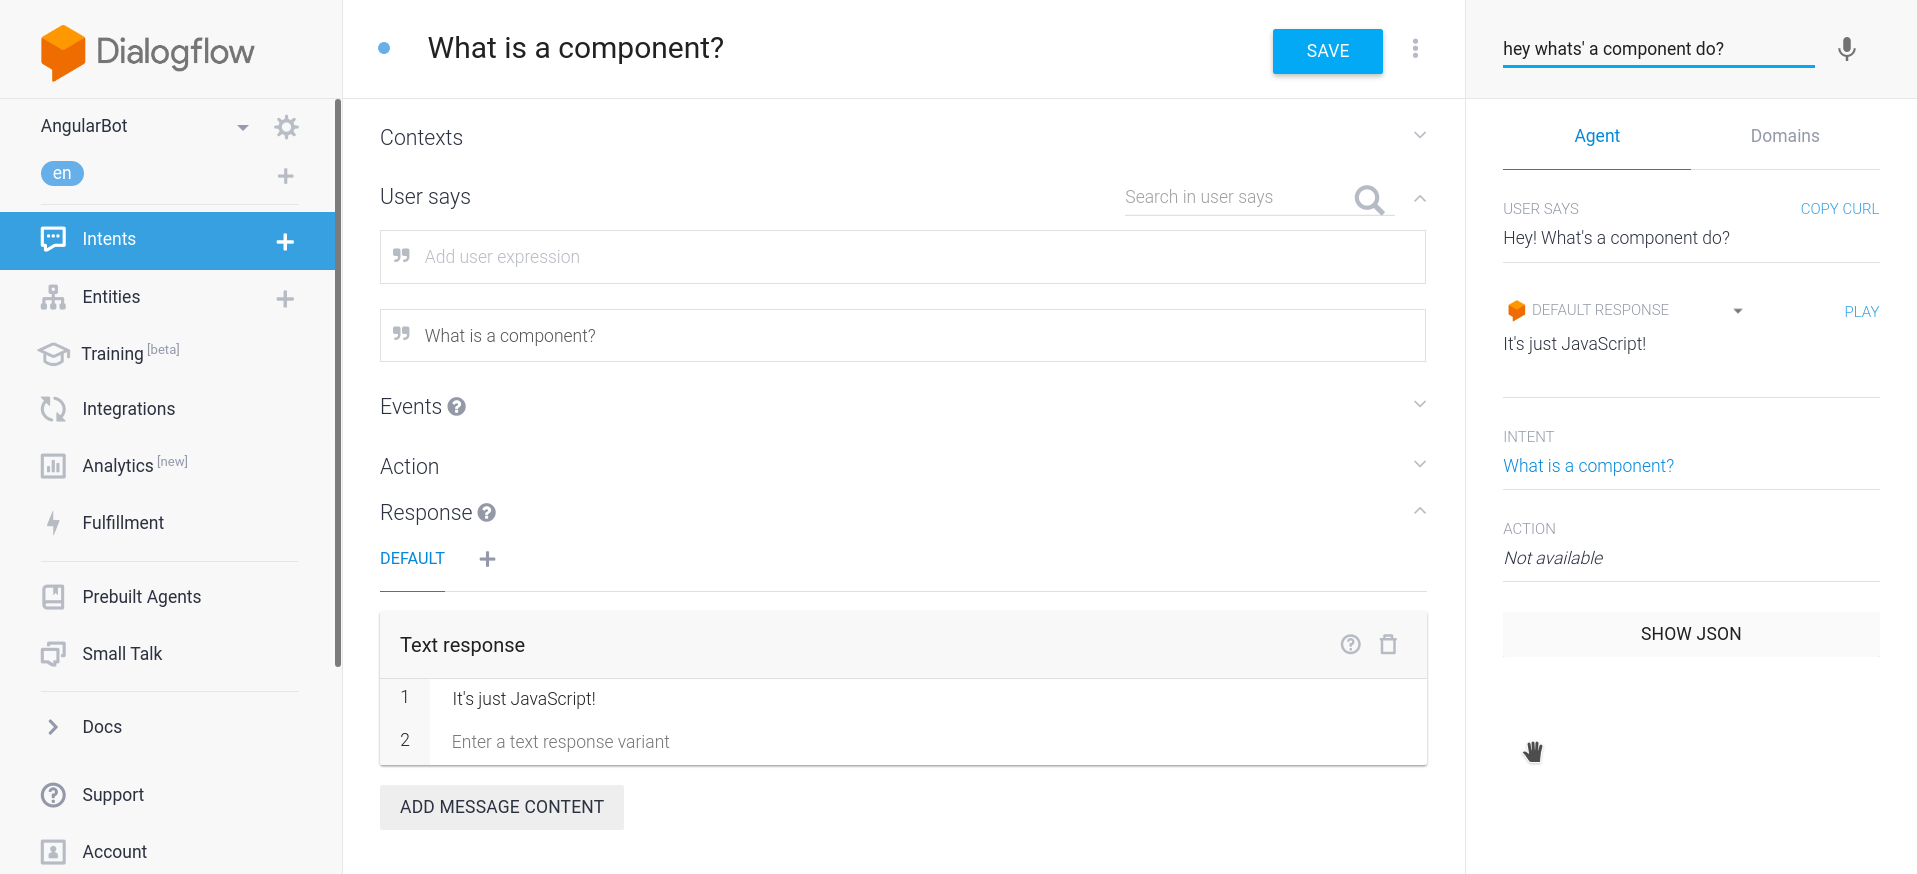
- Add a user expression “What is a component?” (This is a common question you would expect a user to ask, add multiple variants to optimize the algorithm.)
- Add a text response “It’s just JavaScript” (This is what the bot will say when it recognizes this user question)
- Test it out. Try typing “Hey dude what’s a component?” (Magically, the bot recognizes this a the question and responds accordingly)
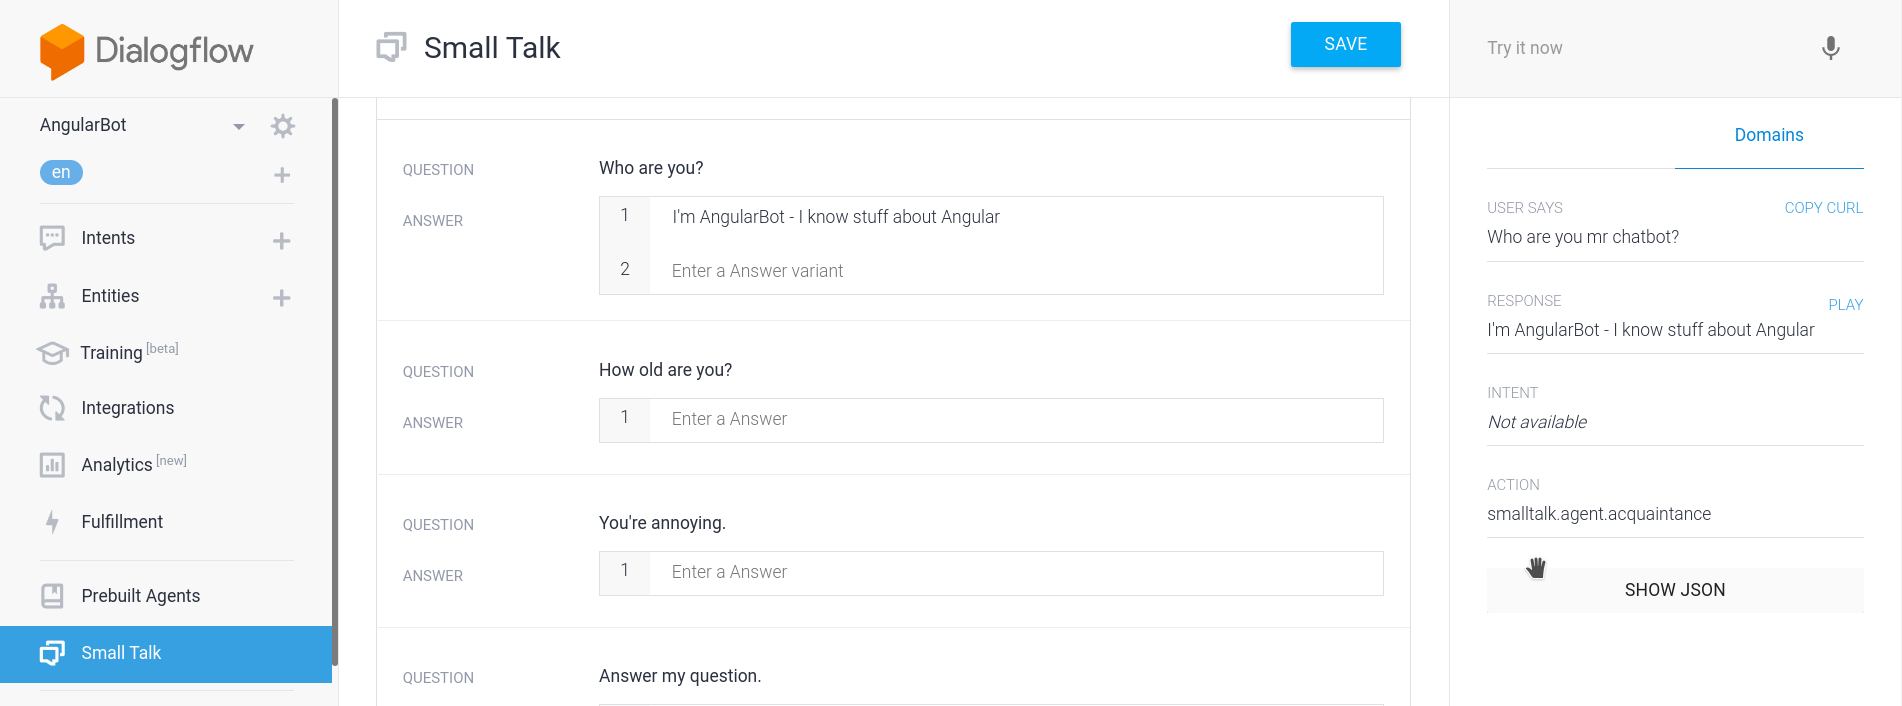
Creating Small Talk
I’d like to point out that you can easily program your bot for common chit-chat style questions in the Small Talk panel. This will give your bot a Siri or Alexa-like level of interactivity. Program it to give funny or intelligent responses that impress your audience.
Using the Chatbot Agent in Angular
Now that we have a basic agent, let’s see how we might allow a user to send an receive messages in the Angular UI.
Add the API Key to the Environment
First, copy and paste the Client access token from the main Agent page in DialogFlow.
DialogFlow is a free service with read-only access, so it is safe to use the Client Token in your frontend app. If using a paid API, you should not expose the token in Angular. A hacker could intercept this key and make requests to your endpoint. Check out my Firebase Cloud Functions API Proxy Server lesson to learn how fully secure API requsts.
Then app the api token your /environments/environment.ts file.
export const environment = { |
Chat Service
The chat service will make the API call to Dialogflow. Here’s a breakdown of the important parts.
- Create a
Messageclass to format messages - Initialize Dialogflow (ApiAiClient) with your API token.
- Define a
BehaviorSubjectthat is an array of messages. - The
conversemethod adds a user message to the array, then hits the API and updates the bot’s response in the same array.
chat.service.ts
import { Injectable } from '@angular/core'; |
Dialog
Now we just need user interface that can send and receive messages.
chat-dialog.component.ts
To maintain a Observable array that can be appended with new vales, I am using the RxJS scan operator. Each time the BehaviorSubject in the service emits a new value, it will be concatenated to the previous value.
import { Component, OnInit } from '@angular/core'; |
chat-dialog.component.html
In the HTML, we can now loop over the messages observable. I am using ngClass on each message to apply a conditional to/from class which is determined if the message came from a human or chatbot. Lastly, I set up a form with ngModel that sends the message when the enter key is pressed.
<h1>Angular Bot</h1> |
chat-dialog.component.css
I’m using the Miligram CSS framework for some basic styling in this demo. Add the following lines to the index.html file to use them via CDN.
<!-- CSS Reset --> |
I created some custom CSS styles to replicate the look of iOS text messages.
.message { |
Next Steps
Congrats, you now have a basic Angular chatbot. There are many ways we can expand on this project. DialogFlow allows us to create far more complex intent-fulfillment cycles that can also trigger backend code.