
You have unlimited access as a PRO member
You are receiving a free preview of 3 lessons
Your free preview as expired - please upgrade to PRO
Contents
Recent Posts

- Object Oriented Programming With TypeScript
- Angular Elements Advanced Techniques
- TypeScript - the Basics
- The Real State of JavaScript 2018
- Cloud Scheduler for Firebase Functions
- Testing Firestore Security Rules With the Emulator
- How to Use Git and Github
- Infinite Virtual Scroll With the Angular CDK
- Build a Group Chat With Firestore
- Async Await Pro Tips
Angular 5 Service Worker - Hacker News PWA Tutorial
Episode 72 written by Jeff Delaney
It’s a good time to be a web developer - Progressive web apps in Angular just got a whole lot easier as of November 2017. A few months back, I created a PWA tutorial that used SW-precache, but today we can build a service worker automagically with Angular 5 by just setting some configuration options.
There is no better way to demonstrate a PWA than to build a Hacker News app and benchmark it against other frameworks.
Want to see it in action? Check out my HNPWA demo here.
Full source code for Angular 5 HNPWA.
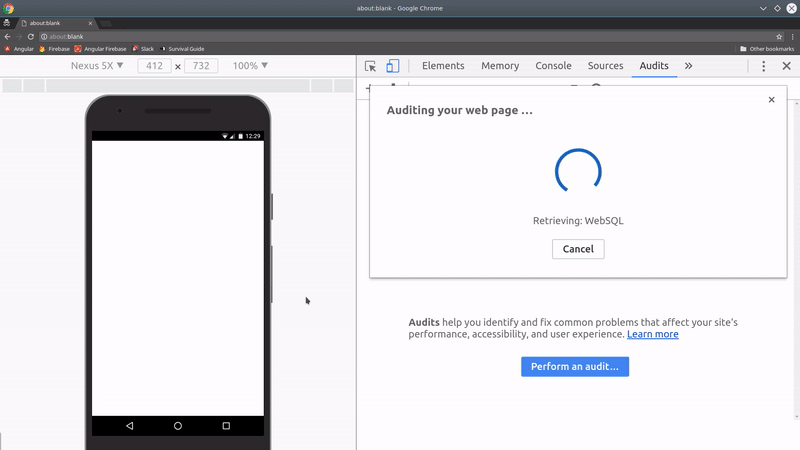
The current PWA score is 100, but the performance score is only 80ish - don’t worry, I will show you how to bring that up in the second part of this tutorial. My goal today is to focus on the most important aspects of the Angular 5 ServiceWokerModule.
Angular 5 Service Worker - Everything you Wanted to Know
In this section, I will attempt to boil down all of the important information about the new Angular 5 service worker. But first… What is a service worker and why do I need one?
A worker is just a JavaScript file that sits in the background and does things that make web apps behave more like native mobile apps. Here are some of the enhancements a worker can provide:
- cache static assets (making your app offline capable)
- cache network API calls
- trigger an install banner (on supported devices)
- send push notifications
- make your app faster for the end user
The one caveat as of today is that it’s not supported in Safari or Edge. However, both browsers will support PWAs in the future. You can stay check the development progress here.
Generating an App with the CLI >= 1.6
The --service-worker flag only exists on the Angular CLI 1.6 - which is just a release candidate as of Nov 2017. You can install it by running.
npm install @angular/cli@next -g |
Then generate a new app with a service worker and routing.
ng new hnpwa --service-worker --routing |
If starting with an existing app, you can manually update the files I talk about in the upcoming sections.
angular-cli.json
If you look inside the angular-cli.json file, you will notice a new serviceWorker option set to true. This tells Angular to create a service worker file with your production build when you run ng build --prod.
"apps": [ |
app.module.ts
The ServiceWorkerModule needs to register the worker in the app.module.
// ...omitted |
Alternatively, you may need to register the worker manually in the main.ts file. I found that this was necessary when integrating the worker with AngularFire2.
platformBrowserDynamic().bootstrapModule(AppModule) |
ngsw-config.json
This is the most important part of your service worker - it tells Angular exactly how to generate the worker. I’m going to break down the most important aspects of the config, but I highly recommend reading Maxim Salnikov’s service worker article for additional depth on this topic.
Asset Groups
Asset groups contain the files you want to cache from your Angular build. The default worker is configured with two asset groups - app and assets.
app- contains files required for your Angular application to work offline, such as index.html and versioned bundle files. TheinstallModeis set to prefetch, which means the files are added to the cache immediately, even if the user did not request them specifically.assets- static assets are also cached. TheinstallModeis set to lazy, which means assets are added to the cache only after being requested by the user.
Data Groups - Cache External API Data
The data groups config allows you to cache external API calls, which makes it possible for your app to use an external data source without a network connection. This data is not known at build-time, so it can only be cached at runtime. There are two possible strategies for caching data sources - freshness and performance.
api-freshness- This freshness strategy will attempt to serve data from the network first, then fallback to th cache. You can set amaxAgeproperty that defines how long to cache responses and atimeoutthat defines how long to wait before falling back to the cache.api-performance- The performance cache will serve data from the cache first and only reach out to the network if the cache is expired.
Here’s what our final ngsw-config.json looks like:
{ |
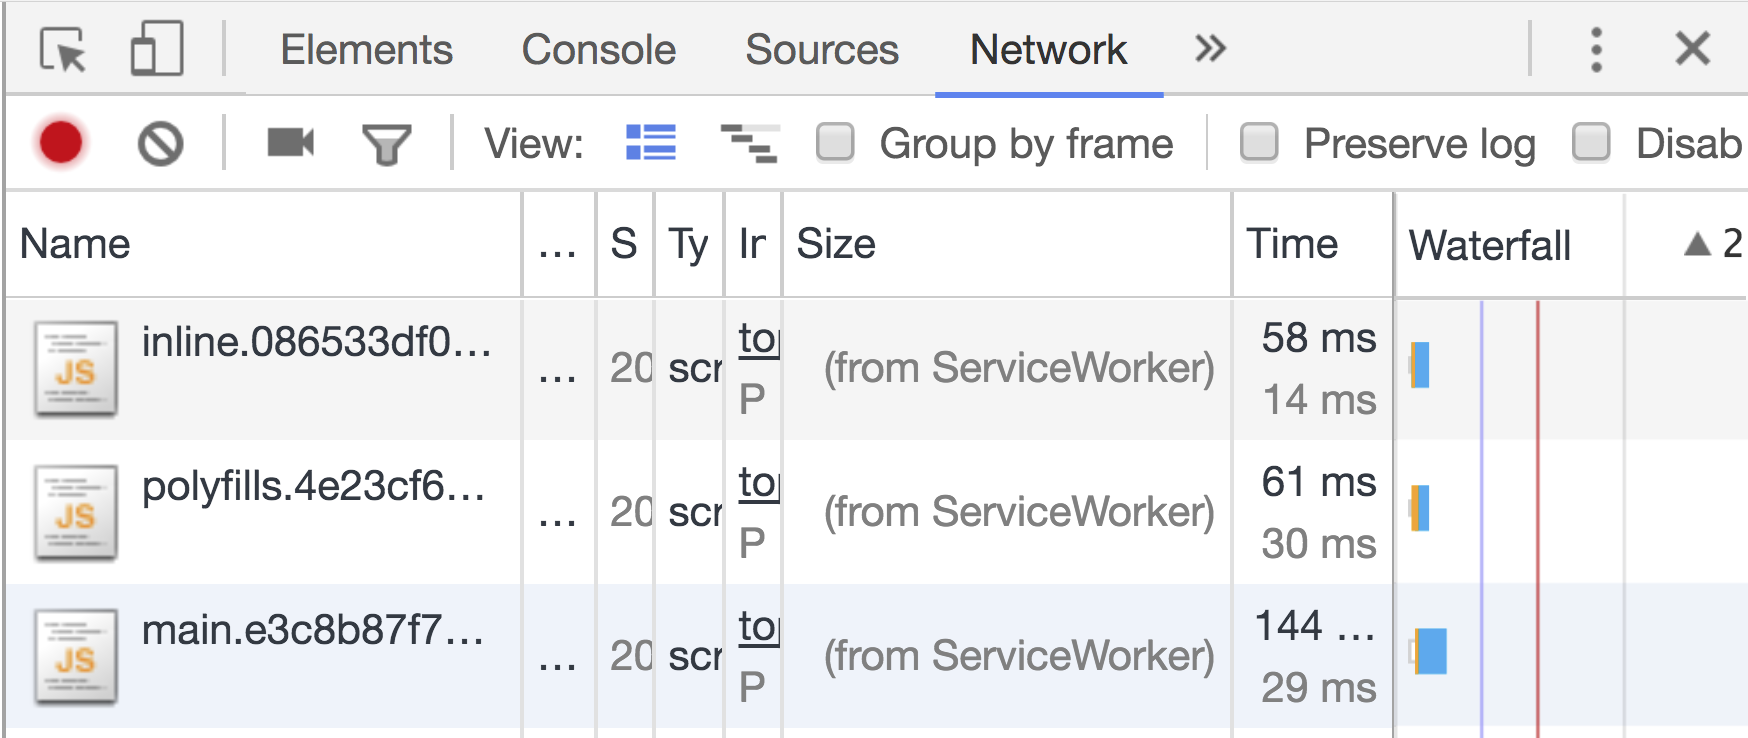
When you deploy your production build, the assets should be served from the Service Worker if you look under the Chrome network tab.
manifest.json
Another critical part of any PWA is its Web App Manifest. You will need to create it manually and add some details about your app.
Generating icons for your app does not have to be manual. Just google PWA favicon generator and choose from one of the many tools on the web. Here’s what a bare-minimum manifest looks like.
{ |
Building the App with a Service Worker
All of the magic happens when you build the app by running ng build --prod.
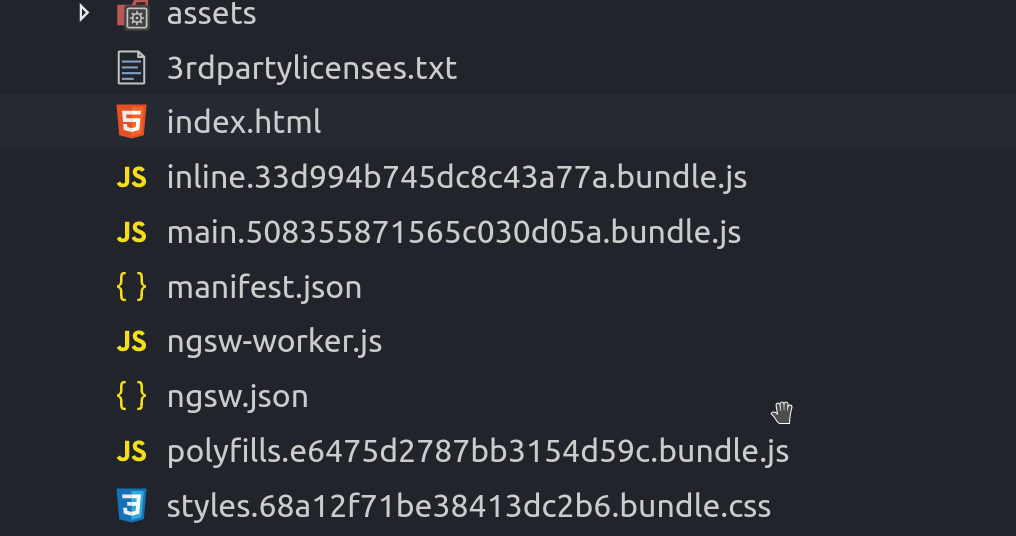
Inside the /dist folder you will see a handful of new files in your production build.
Let’s build a Hacker News PWA
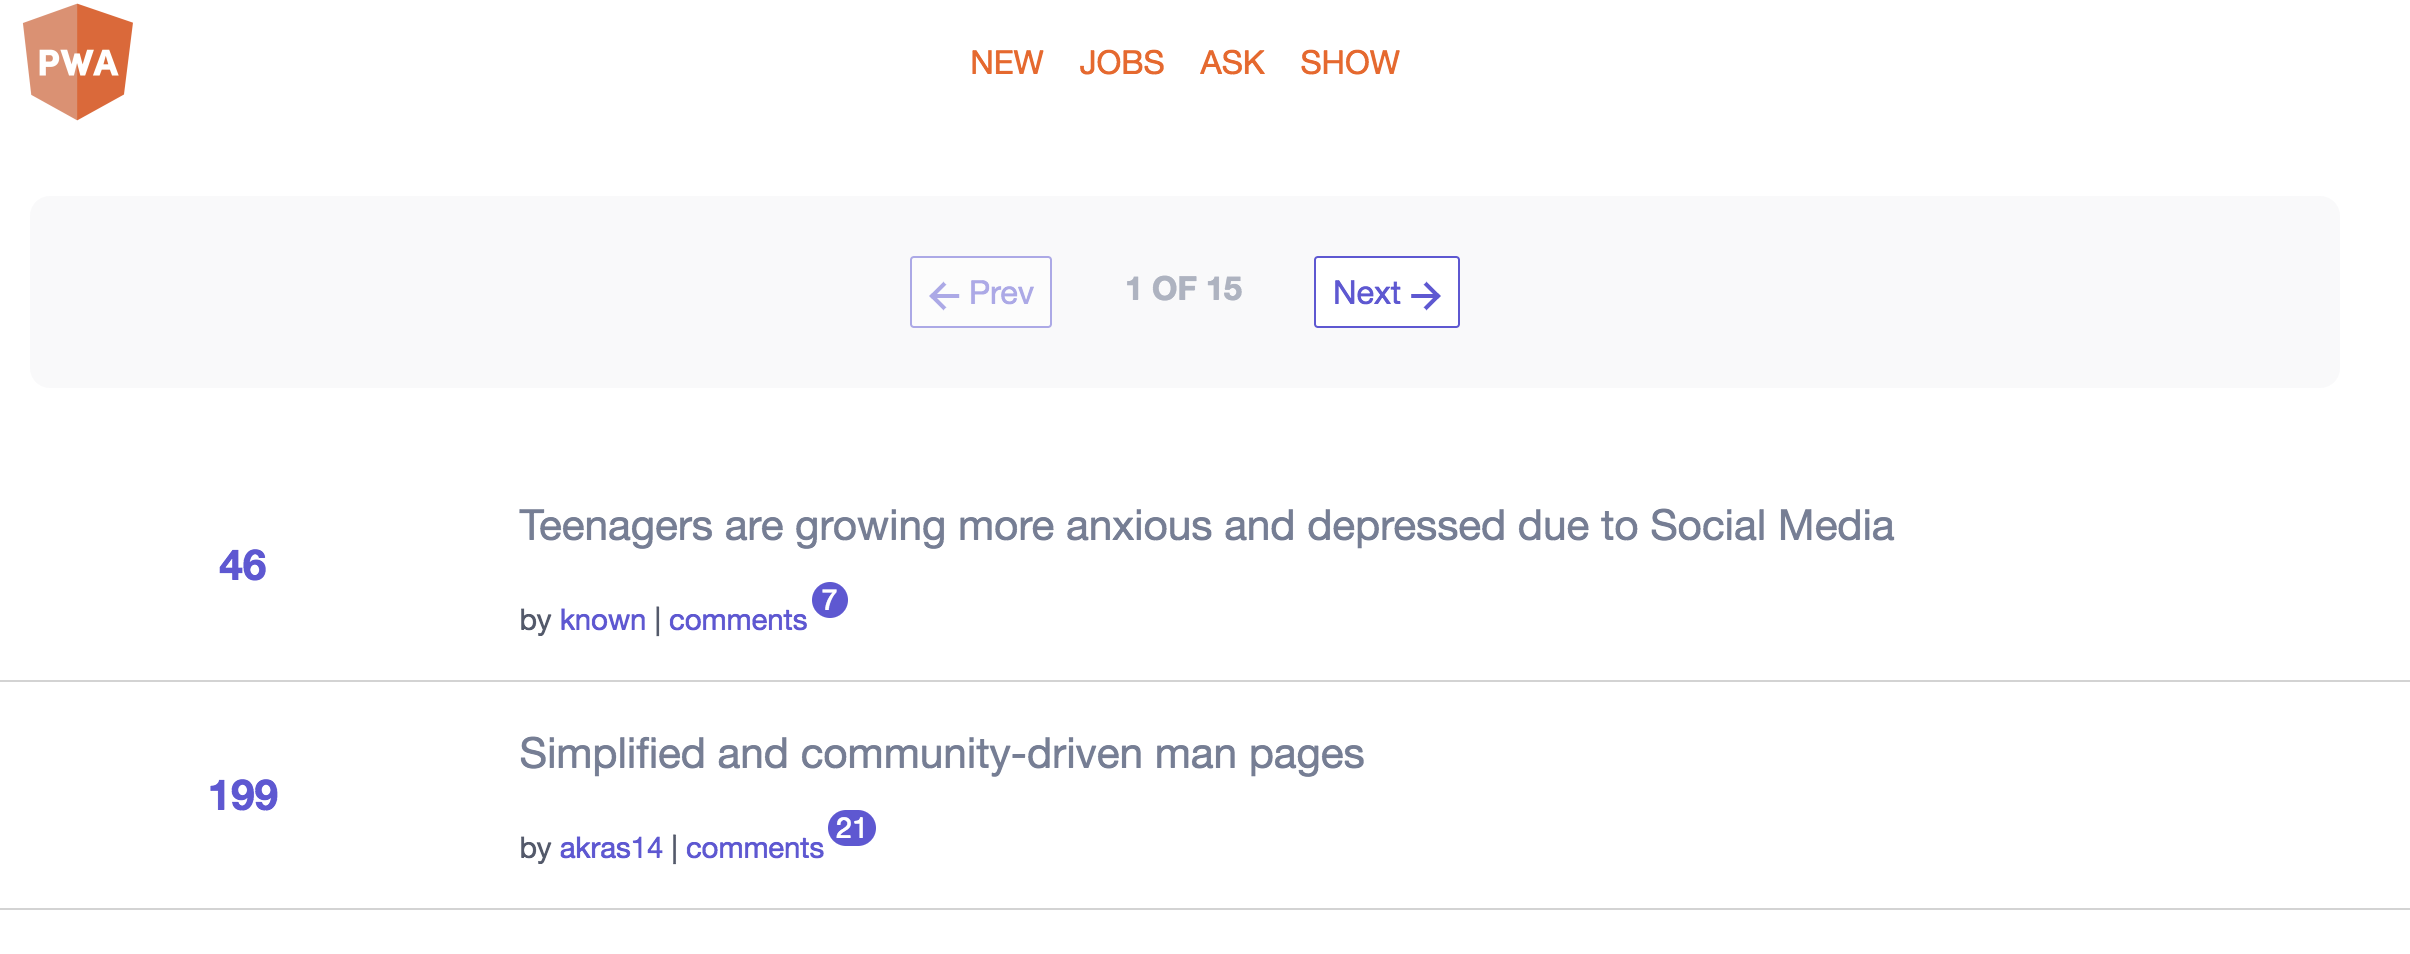
If you’re just getting started with PWAs, there’s no better place to start than building your own Hacker News clone.
As an added bonus, the Hacker News API is hosted on the Firebase RealtimeDatabase, which means we can AngularFire2 to retrieve data. This gives us a realtime data feed right out of the gate.
In this tutorial, I am only going to show you how to build the main news feed, but that’s all you really need to know. The rest of the app is just repeating the same pattern and you can obtain the full source on Github.
Initial Setup
This app is going to use a core module to request data from the Hacker News API, which is hosted on the Firebase RealtimeDatabase. The content module is our feature module that handles the presentational data related to stories and provides a service for retrieving this data from Firebase.
The UI module is a shared module that exports reusable components, such as a loading spinner, navigation elements, etc.
ng g module content |
Now install AngularFire2. You do not need a Firebase account - we will be using the free Firebase endpoint provided by Hacker News.
npm install angularfire2 firebase --save |
index.html
The index file serves as your initial loading or splash page. This is a bare-minimum example, but the most important part is that you include:
- An initial splash of content while Angular is loading
- Link your
manifest.jsonfile in the head of the document. - Define the theme color.
- Add a
<noscript>tag as a fallback when JavaScript is disabled.
|
NgModules
There are quite a few components in this app, so I will just show you how everything is strucutred in our modules.
The goal is to keep the App Module lean.
// app.module.ts |
The content module contains does the heavy lifting. Notice how it imports AngularFireModule and initializes it with the Database URL to the Hacker News Endpoint.
// content.module.ts |
And finally the UI module provides some shared components.
// ui.module.ts |
Data Service
If you’re familiar with Firebase and AngularFire2, this part is going to be very easy for you. The data service requests an array observable or an object observable that can be called from a component.
getFeed(feed) returns an observable array of story IDs, while getItem(itemId) returns the actual data for a given item, which can be a story or comment.
import { Injectable } from '@angular/core'; |
App Routing Module
Hacker News has a variety of different feeds to show, such as Jobs, Ask HN, and New, but they all share the same underlying Story data structure. We can send data through the route that can be used to determine which feed to pull from Firebase.
import { NgModule } from '@angular/core'; |
story-feed.component.ts
The StoryFeedComponent is responsible for retrieving the ids based on the feed data provided by the router.
import { Component, OnInit, AfterViewInit } from '@angular/core'; |
In the HTML, it loops over the ids, then passes them to a child StoryItemComponent.
<div *ngFor="let id of items$ | async"> |
story-item.component
At this point we only have an array of IDs. We are going to query the item details from firebase from the child component.
import { Component, OnInit, Input } from '@angular/core'; |
You can display the story data in the HTML by unwrapping the Observable.
|
At this point, you should now have a basic structure to flesh out your own Hacker News PWA. Rember, you can always clone my PWA or any of the others on the Hacker News showcase.
Up Next - Performance Optimization
Currently, we’re sitting at a Lighthouse PWA score of 100, but a performance score of 80 - we can do better than that. In the next article, I will show you how to optimize your angular app to achieve a score that approaches 100.