
You have unlimited access as a PRO member
You are receiving a free preview of 3 lessons
Your free preview as expired - please upgrade to PRO
Recent Posts

- Object Oriented Programming With TypeScript
- Angular Elements Advanced Techniques
- TypeScript - the Basics
- The Real State of JavaScript 2018
- Cloud Scheduler for Firebase Functions
- Testing Firestore Security Rules With the Emulator
- How to Use Git and Github
- Infinite Virtual Scroll With the Angular CDK
- Build a Group Chat With Firestore
- Async Await Pro Tips
Ionic Native With Firebase FCM Push Notifications
Episode 93 written by Jeff Delaney
Broadcasting push notifications is one of the most effective strategies for keeping a mobile app’s user base engaged and active. In this lesson, we will build a multi-device notification feature with Ionic Native and Firebase Cloud Messaging (FCM) from scratch. My goal is to give you a reusable provider that works on both iOS and Android, then show you how to generate notifications manually on the Firebase console or dynamically with Cloud Functions.
This lesson is geared towards native mobile apps (iOS, Android) with Ionic. If you’re building a web app, checkout my PWA Firebase Cloud Messaging lesson.
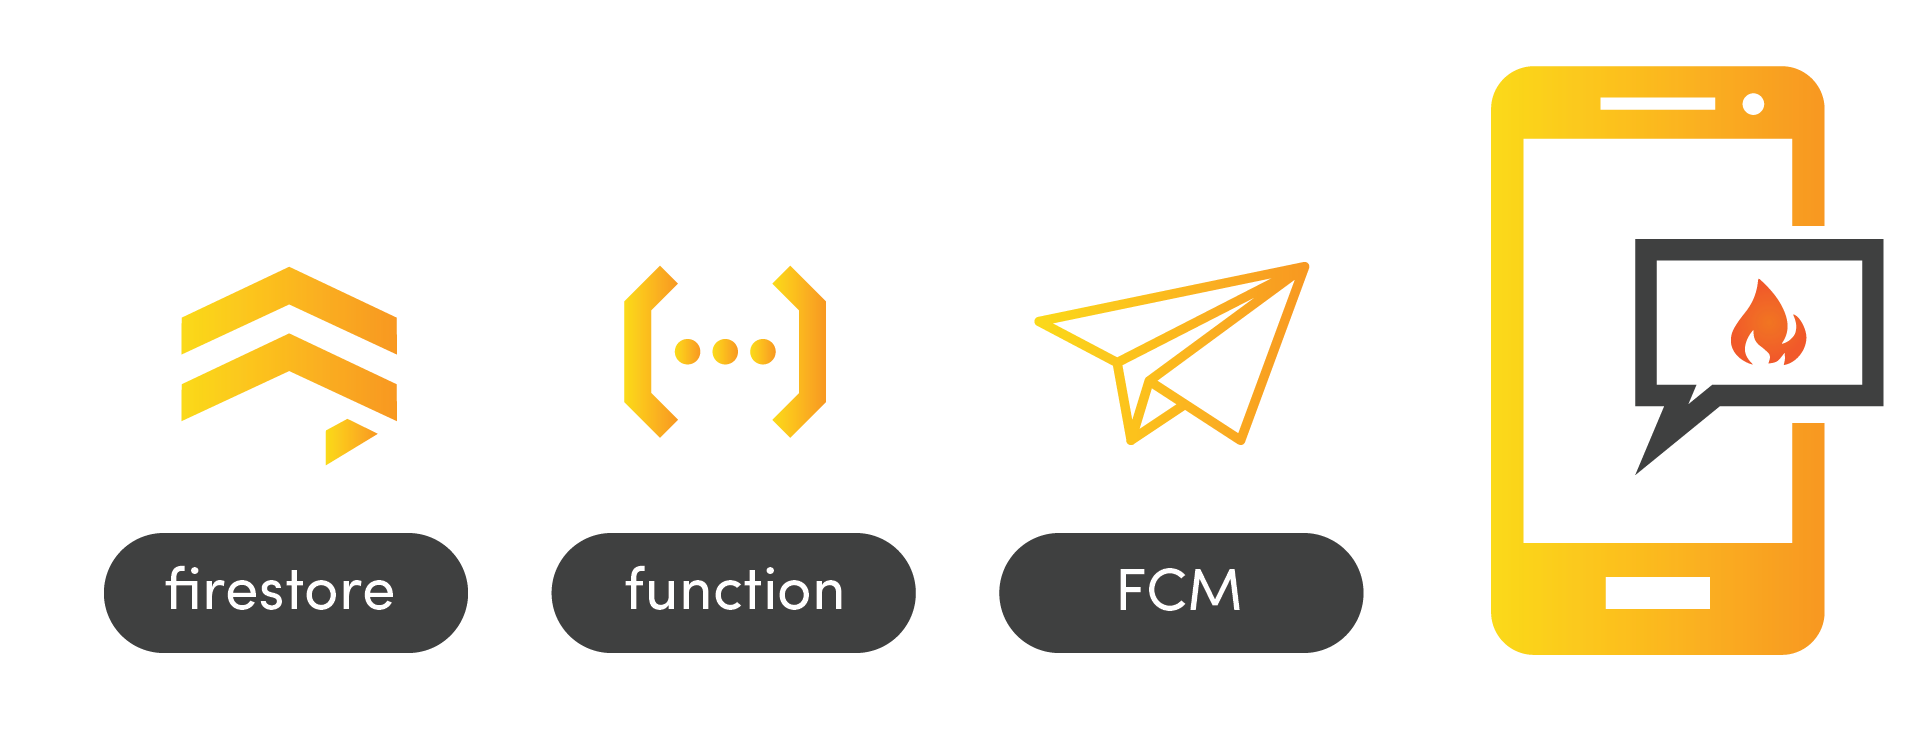
The basic process for sending FCM notifications goes something like this:
- Save a user’s device tokens in Firestore.
- Run backend code in response to important database events with Cloud Functions.
- Use Firebase Cloud Messaging to broadcast notifications to a user’s devices.
Full source code for the Ionic FCM Demo.
Step 1 - Initial Setup
There are a few things we need in place before getting started with Ionic and Firebase FCM. I’m starting from a brand new app using the tabs template.
ionic start fcmDemo tabs |
Install Dependencies
For native mobile apps, we will use the Firebase Cordova Plugin
ionic cordova plugin add cordova-plugin-firebase |
For PWA support and access to the Firestore Database we will install AngularFire2.
npm install --save angularfire2 firebase |
Then make sure you have imported everything in the app.module.ts.
import { Firebase } from '@ionic-native/firebase'; |
Add your iOS and Android Credentials to the Project
At this point, you should have your app registered for iOS and Android in your Firebase project. If not, follow these Ionic Firebase native app setup instructions.
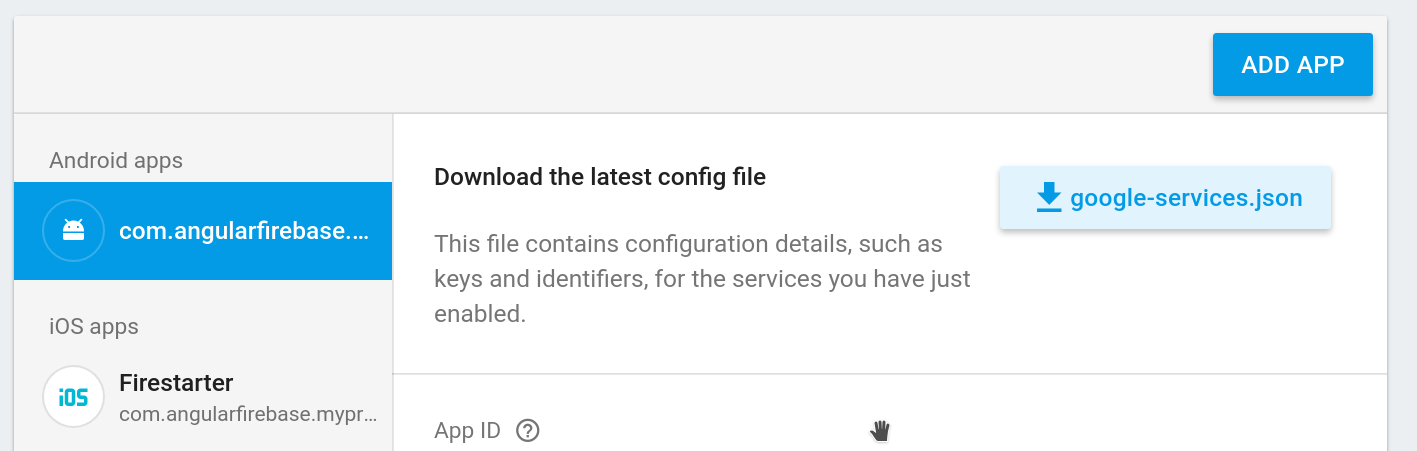
Download your config files for iOS and Android from the Firebase console, then save them in the root of your Ionic project.
Your Android google-services.json file is found here:
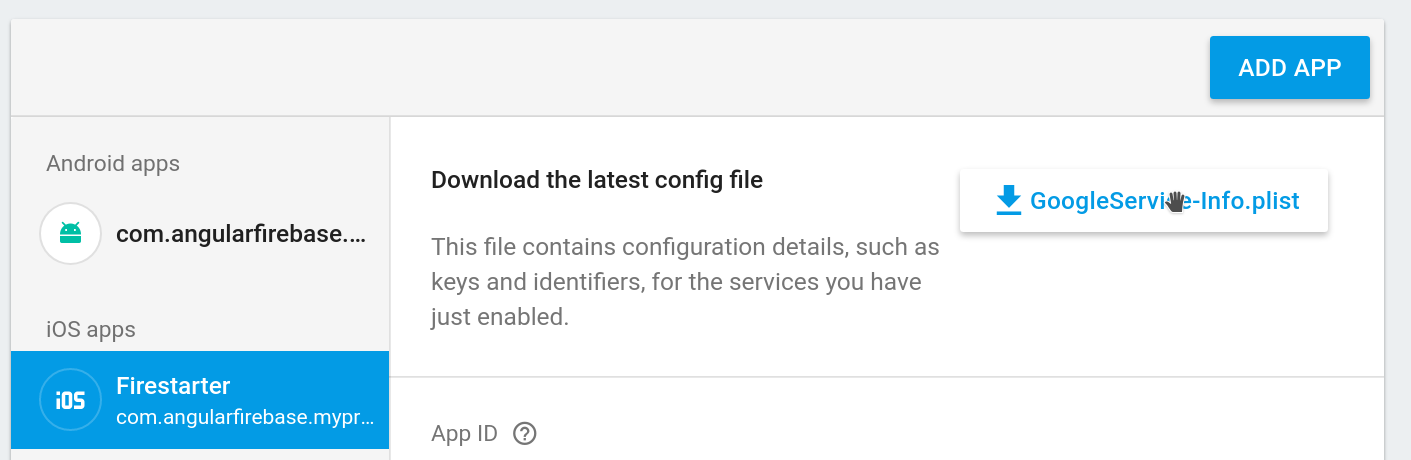
And here is the GoogleService-Info.plist config for iOS.
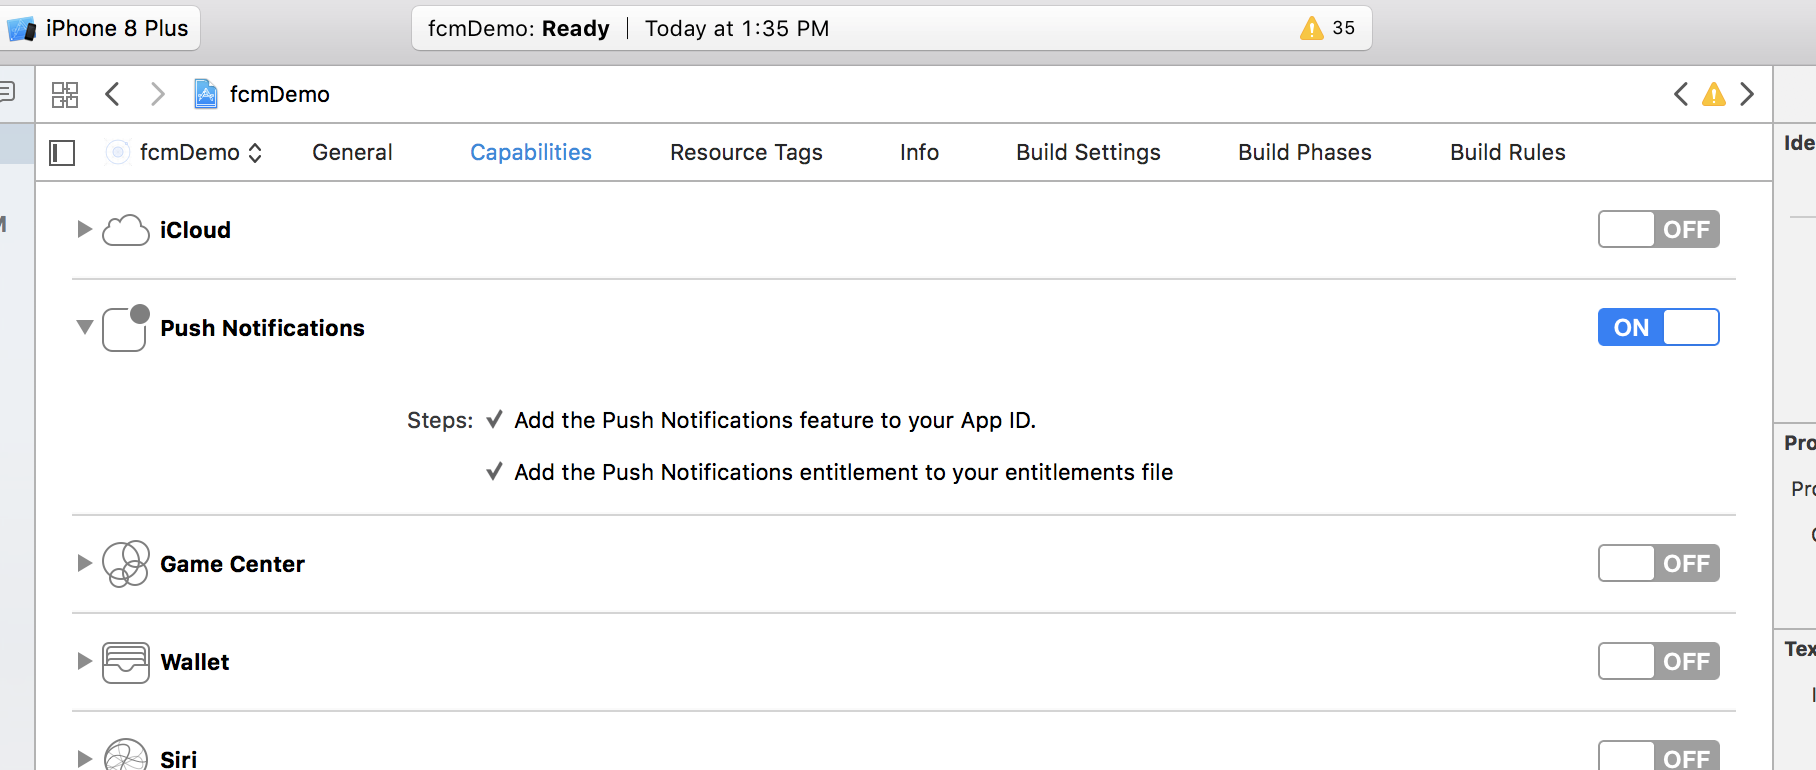
Deploying to iOS? You will also need to enable push notifications in Xcode and in the developer portal. I recommend checking out this setup guide if you get stuck.
Step 2 - Obtain Permission
Most of the heavy lifting will happen in our FcmService. It is responsible for (1) obtaining permission from the user, (2) sending the token to Firestore, and (3) listening to incoming messages when the app is open.
ionic generate provider fcm |
First, let’s flesh it out with our dependencies.
// fcm.ts |
Obtain the FCM Token
Our first hurdle is obtaining the FCM permission token for a given device. We need to handle this differently on each platform. Specifically, iOS requires us to specifically request permission in our code. This function returns a promise, so we can make it look pretty with async/await.
async getToken() { |
Save the Token in Firestore
A user can have many devices registered for notifications, so we need a document that preserves the relationship between user and device. This is as simple as adding a userId property to each token. Also, a token is just a string, so we can use it as the document ID to ensure that each token only has 1 document.
private saveTokenToFirestore(token) { |
Listen to Incoming Messages
Push notifications are designed to work only when the app is the background. When the app is actively in use, it is the developer’s responsibility to notify the user.
listenToNotifications() { |
Ionic has a built in Toast Component, so we can just subscribe to the messages and throw up a toast for a few seconds on each emitted notification.
Let’s delegate this code to our app.component.ts after the native device is ready.
// ...omitted |
Fixing a Cordova Android Emulator Bug
As of March 2018, there’s a bug in the cordova Android emulator code, but it can be fixed by updating a single line of code, which I learned form this Ionic forum response.
Open /platforms/android/cordova/lib/emulator.js and find this line:
var num = target.split(’(API level ‘)[1].replace(’)’, ‘’);
Then replace it with this line:
var num = target.match(/\d+/)[0];
Step 3 - Broadcast Messages
Now for the fun part! At this point, we have obtained permission to send out push notifications, but how do we broadcast them to our users? We have two main options - send them manually via the console, or send them dynamically via Cloud Functions.
Manually from the Firebase Console
If you want to micromanage your app, you can broadcast messages directly from the Firebase console without writing a single line of code.
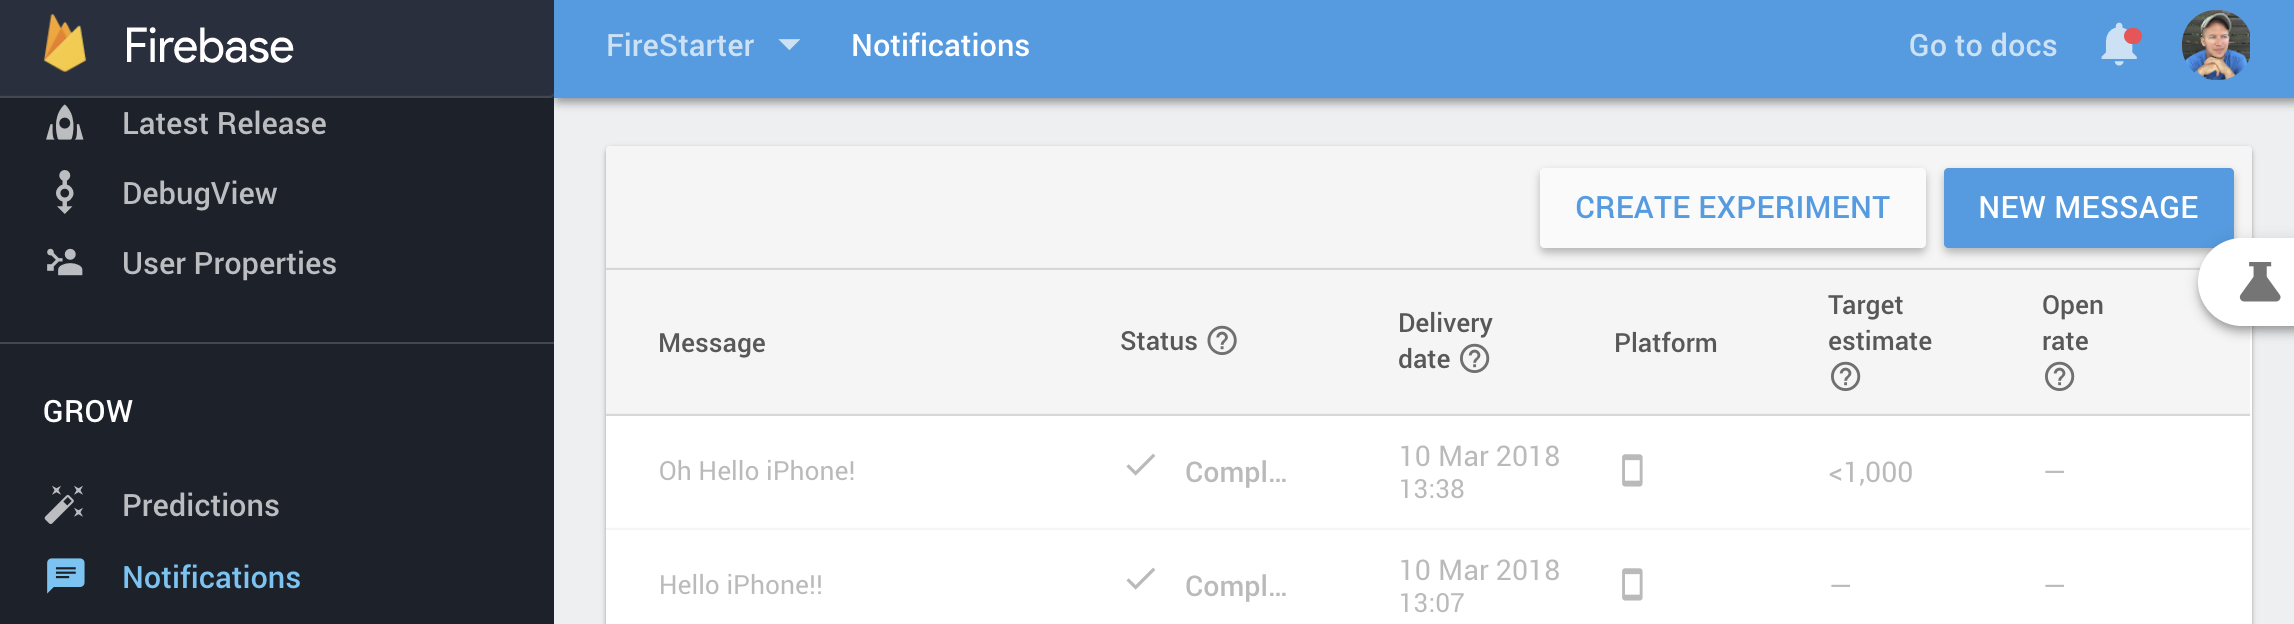
The console is great, but most FCM situations will be handled programmatically via a Cloud Function.
Dynamically with an FCM Cloud Function for Ionic
Let’s assume we want to send a notification whenever a user gets a new subscriber. In Firestore, we keep track of this data relationship on the following document.
subscriptions |
We need a Cloud Function that will listen to the onCreate event in this collection and send out notifications to all devices registered to the AwesomeCodeTutorials user.
Run the following command inside your Ionic project (make sure to use the TypeScript option).
firebase init functions |
The Cloud Function code is actually very simple. It performs the following steps:
- Query the
devicescollection and order by theuserId - Format the message content.
- Loop over the devices and use the messaging SDK to send out the notification payload.
import * as functions from 'firebase-functions'; |
Deploy the Function
Now deploy the function from the command line:
firebase deploy --only functions |
You can verify that it works by creating a new document in the Firestore subscribers collection with a userId that has approved devices. In this demo the emulated devices are assigned to testUser. You should see the notification popup after creating a new document in this collection.
The End
You now have a basic process for collecting FCM tokens and broadcasting notifications from your backend code. There are many other possibilities to expand on from here, such as customer segment notifications, A/B testing, topic subscriptions and more. Let me know if you have questions in the comments or on Slack.