
You have unlimited access as a PRO member
You are receiving a free preview of 3 lessons
Your free preview as expired - please upgrade to PRO
Contents
Recent Posts

- Object Oriented Programming With TypeScript
- Angular Elements Advanced Techniques
- TypeScript - the Basics
- The Real State of JavaScript 2018
- Cloud Scheduler for Firebase Functions
- Testing Firestore Security Rules With the Emulator
- How to Use Git and Github
- Infinite Virtual Scroll With the Angular CDK
- Build a Group Chat With Firestore
- Async Await Pro Tips
Ngrx Entity CRUD Feature Module Tutorial
Episode 60 written by Jeff Delaney
Ngrx entity streamlines process of creating a collection of objects. It makes a few basic assumptions about the shape of your data, then provides a handful of tools that
In this lesson, I am going to build a basic CRUD (create, update, delete) app for customizing a pizza order. In addition, I will show you how to build a simple ngrx feature module for better organization of your code.
Get the full source code.
If you’re brand new to the world of Redux, make sure to check out my ngrx Quick Start before attempting this tutorial. I will not be spending very much time explaining the basic underlying concepts in this lesson.
What is an Entity?
Meditate on this interface for a while.
interface EntityState<V> { |
The EntityState interface describes the shape of your data when using entity. In this demo, we are going to create a pizza entity that will hopefully make sense out of this concept.
I find that an entity becomes clearer when I look at it as a POJO.
entities = { |
Why the array of ids? JavaScript objects do not maintain order, but arrays do. Keeping an array of ids makes it possible to maintain order.
This structure makes it possible for ngrx to provide a bunch or helper (adapter) methods that make reducers more expressive and consistent.
How to Create an Ngrx Feature Module
It is a good idea to use feature modules in Ngrx to keep your reducers, actions, and models maintainable.
Pizza Module
ng g module pizza |
First, run the commands above to create a module and component, then manually create the pizza/pizza.reducer.ts and pizza/pizza.actions.ts inside the feature directory.
Your final pizza module should looks something like this:
import { NgModule } from '@angular/core'; |
Reducer Index
When working with feature modules, we need a centralized place to bundle up the reducers. Create the following file app/reducers/index.ts. The purpose of this file is to map multiple reducers together so that they can used in the store in the next step.
import { ActionReducerMap } from '@ngrx/store'; |
App Module
Now we can bring everything together in the app module. Notice I am also adding Redux Dev Tools to help us out with debugging.
// omitted other imports |
Define the Actions
Actions are basically the same with @ngrx/entity, but you will need to be careful to make sure the payload data is appropriate for the adapter method. My goal is to keep this super simple, so let’s just make CRUD - Create, Update, and Delete.
import { Action } from '@ngrx/store'; |
Using @ngrx/entity
I am adding all of the entity code in the reducer to avoid a confusing mix of imports in this tutorial, but you might want to refactor the interface to a dedicated model file.
The first thing we need is an interface that describes our pizza data.
import * as actions from './pizza.actions'; |
Reducer Function with the Entity Adapter Methods
The adapter has a number of built-in methods the for handling crud operations. Rather than use Object.asssign({}, state, data) or the spread syntax { state, ...data }, you pass arguments to one of the methods on the entity adapter.
Here’s the full list of the entity adapter methods, the names are self-describing:
// Reducer |
Selectors
The final step is to create some selectors that can be used to access parts of the store. There are several methods built into @ngrx/entity, but you can also create your own. They allow you to slice subsets of the entity data as an Observable that can be displayed to the end user.
// Create the default selectors |
And Finally… The Component
Now that we have all the ngrx resources wired up, it’s time to create a UI for the end-user.
import { Component, OnInit } from '@angular/core'; |
The HTML will use the event handlers on button clicks to dispatch the action to the reducer.
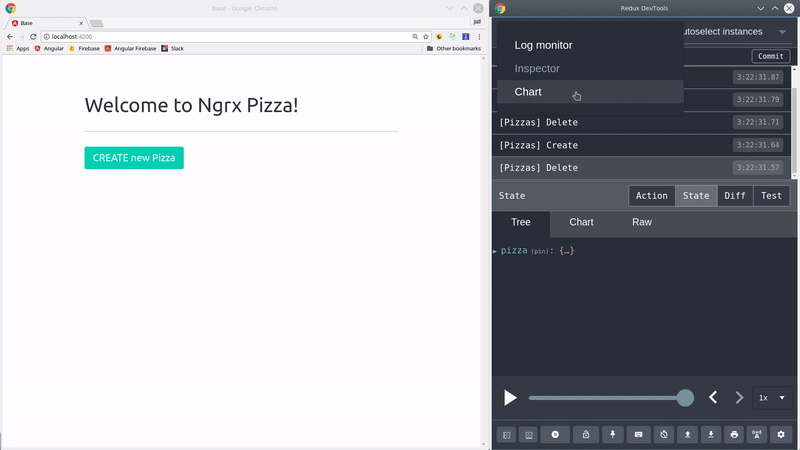
<h1>Welcome to Ngrx Pizza!</h1> |
The End
You might have noticed that it takes significantly more code to build apps with ngrx - even with the entity helpers. What you get in return is a codebase that is easier to test and debug. This is the tradeoff that you need to consider when deciding if your project should use a global client-size data store. Please reach out on slack if you want a personalized recommendation.