You have unlimited access as a PRO member
You are receiving a free preview of 3 lessons
Your free preview as expired - please upgrade to PRO
Contents
Recent Posts

- Object Oriented Programming With TypeScript
- Angular Elements Advanced Techniques
- TypeScript - the Basics
- The Real State of JavaScript 2018
- Cloud Scheduler for Firebase Functions
- Testing Firestore Security Rules With the Emulator
- How to Use Git and Github
- Infinite Virtual Scroll With the Angular CDK
- Build a Group Chat With Firestore
- Async Await Pro Tips
Deploy an Ionic4 Android App to the Google Play Store
written by Jeff Delaney
The final steps of building, packaging, and deploying an Ionic Android app can sometimes be the most painful steps. The following guide will show you how to build and sign the Android package (APK) suitable for upload to the Google Play Store.
Step-by-Step Ionic 4 Android Build Process
All Android apps must be digitally signed before they can be installed on a real device or uploaded to Google Play. This can be a major source of confusion in hybrid development, so let’s walk through it step-by-step.
This guide was created using MacOS. The steps on Windows and Linux will be similar, but please report any issues in the comments.
Step 1 - Run a Production Build
First, we need to bundle our web code and prepare the assets as a native package.
ionic cordova build android --prod --release |
Step 2 - Generate a Keystore
A keystore is just a binary file that holds the private keys needed to sign the app. Make sure to keep it safe because you need it to update your future releases of your app. Its purpose is to keep your app safe from malicious updates.
keytool -genkey -v -keystore my-release-key.jks -keyalg RSA -keysize 2048 -validity 10000 -alias my-alias |
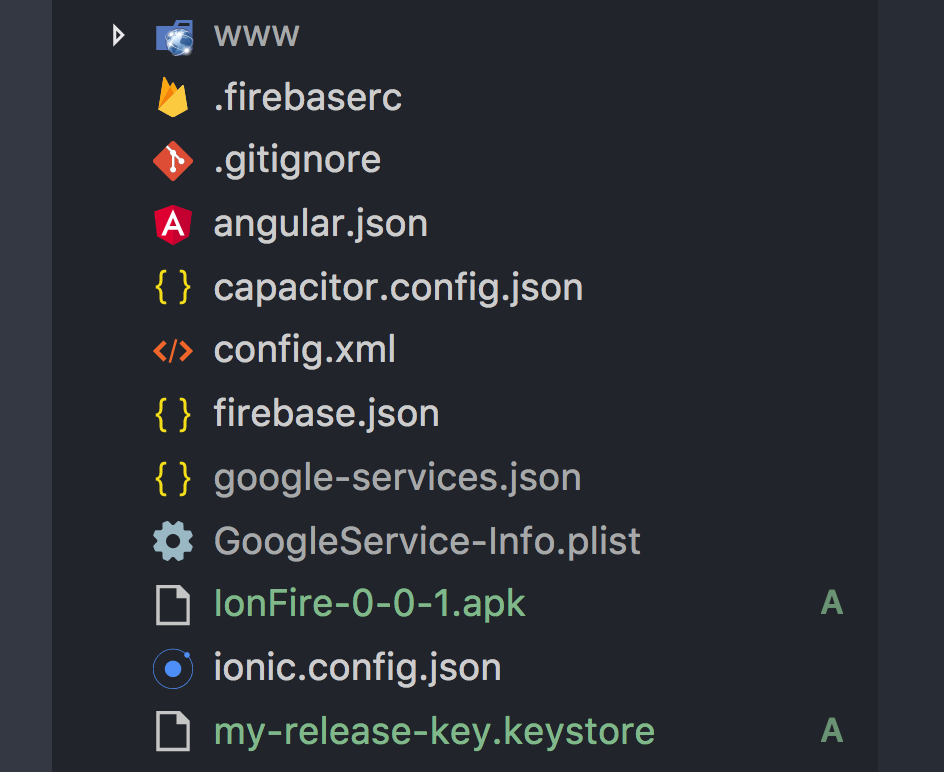
You should see my-release-key.keystore in the root of your project
Step 3 - Sign the APK
You should have a an unsigned APK located in platforms/android/app/build/outputs/apk/release/ in your Ionic project. Let’s use the keystore from step 2 to sign the APK.
jarsigner -verbose -sigalg SHA1withRSA -digestalg SHA1 -keystore my-release-key.keystore platforms/android/app/build/outputs/apk/release/app-release-unsigned.apk my-alias |
Step 4 - Figure out your build tools path
We need to use the Android CLI build tools to finish packaging the app. What is the value of the ANDROID_HOME env variable?
printenv ANDROID_HOME |
That should give you something like ~/Library/Android/sdk/. Now we need to find out the version of build tools on our system.
ls ~/Library/Android/sdk/build-tools |
That should give you a version number like 28.0.3.
So replace {build-tools-path} with the path to build tools on your machine for the following commands, i.e. ~/Library/Android/sdk/build-tools/28.0.3
Step 5 - Run zipalign
Next we need to run zipalign on the APK.
{build-tools-path}/zipalign -v 4 android-release-unsigned.apk YourAppName-Release.apk |
Step 6 - Verify the Signature
The final step is to verify the signature on the APK with apksigner.
{build-tools-path}/apksigner verify YourAppName-Release.apk |
The final result should look like the image below (focus on the green files), giving you an APK ready for release on Google Play