
You have unlimited access as a PRO member
You are receiving a free preview of 3 lessons
Your free preview as expired - please upgrade to PRO
Recent Posts

- Object Oriented Programming With TypeScript
- Angular Elements Advanced Techniques
- TypeScript - the Basics
- The Real State of JavaScript 2018
- Cloud Scheduler for Firebase Functions
- Testing Firestore Security Rules With the Emulator
- How to Use Git and Github
- Infinite Virtual Scroll With the Angular CDK
- Build a Group Chat With Firestore
- Async Await Pro Tips
Angular CLI Basics Guide
Episode 104 written by Jeff Delaney
Angular provides hands-down the most powerful command line interface for a JavaScript framework that I have every worked with. It generates boilerplate code in a sophisticated, yet flexible way, and provides a ton of special commands that make development faster and easier. And version 6 shipped with a few new commands that make it even more powerful.
This lesson will take you through the most common and useful commands of the Angular CLI, but it’s really only the tip of the iceberg. Refer to the Angular CLI docs for a comprehensive breakdown of every option discussed below.
Get started by installing the CLI globally on your system.
npm install -g @angular/cli@latest |
Then make sure that it’s installed on your system and prints out version 6.0 or greater.
ng -v |
1. New
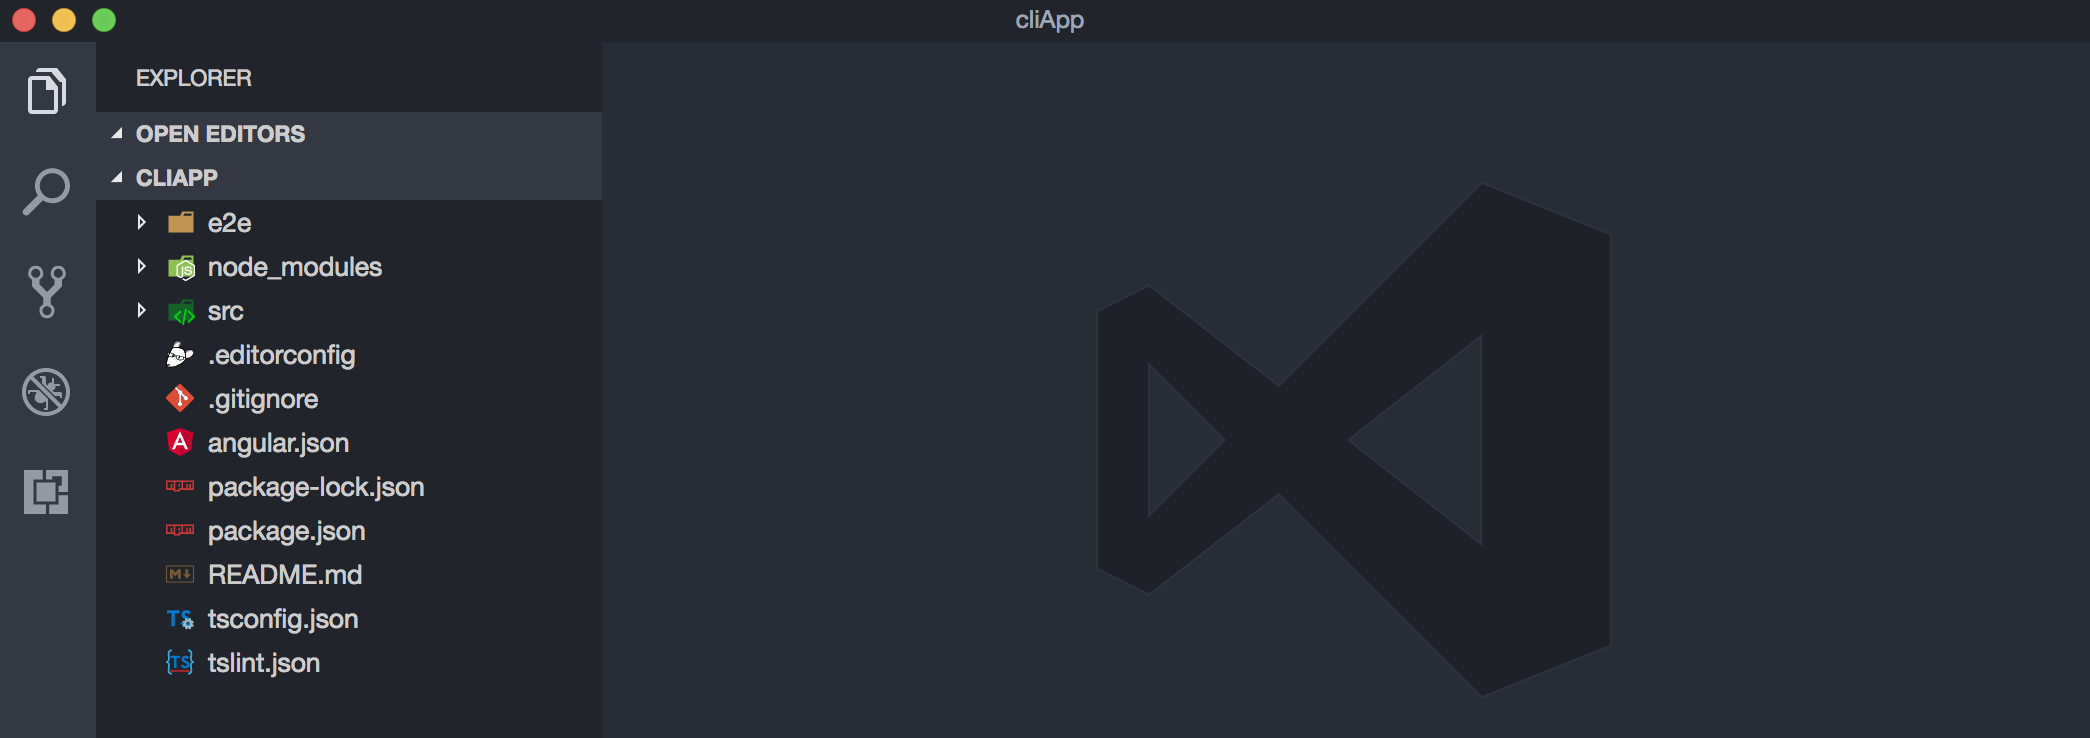
The first thing you’ll need to do is generate a new app.
ng new myApp |
This command will create your app and install the dependencies.
Angular.json
The CLI configuration options can be found in the angular.json file in the root of the project. It is possible to have multiple apps and libraries in a single CLI workspace. If necessary, you can edit values in this file to change the behavior of the CLI, but that’s usually only required for more advanced use cases.
} |
Choose a CSS Preprocessor
You can use a popular CSS preprocessor, such as scss, stylus, or less. The CLI will automatically install the dependencies needed to compile the styles to plain CSS at build time.
ng new myApp --style scss |
Add a Router Module
Most single page applications will take advantage of the Angular router. Can you automatically generate the router code by passing in the routing flag.
ng new myApp --routing |
2. Serve
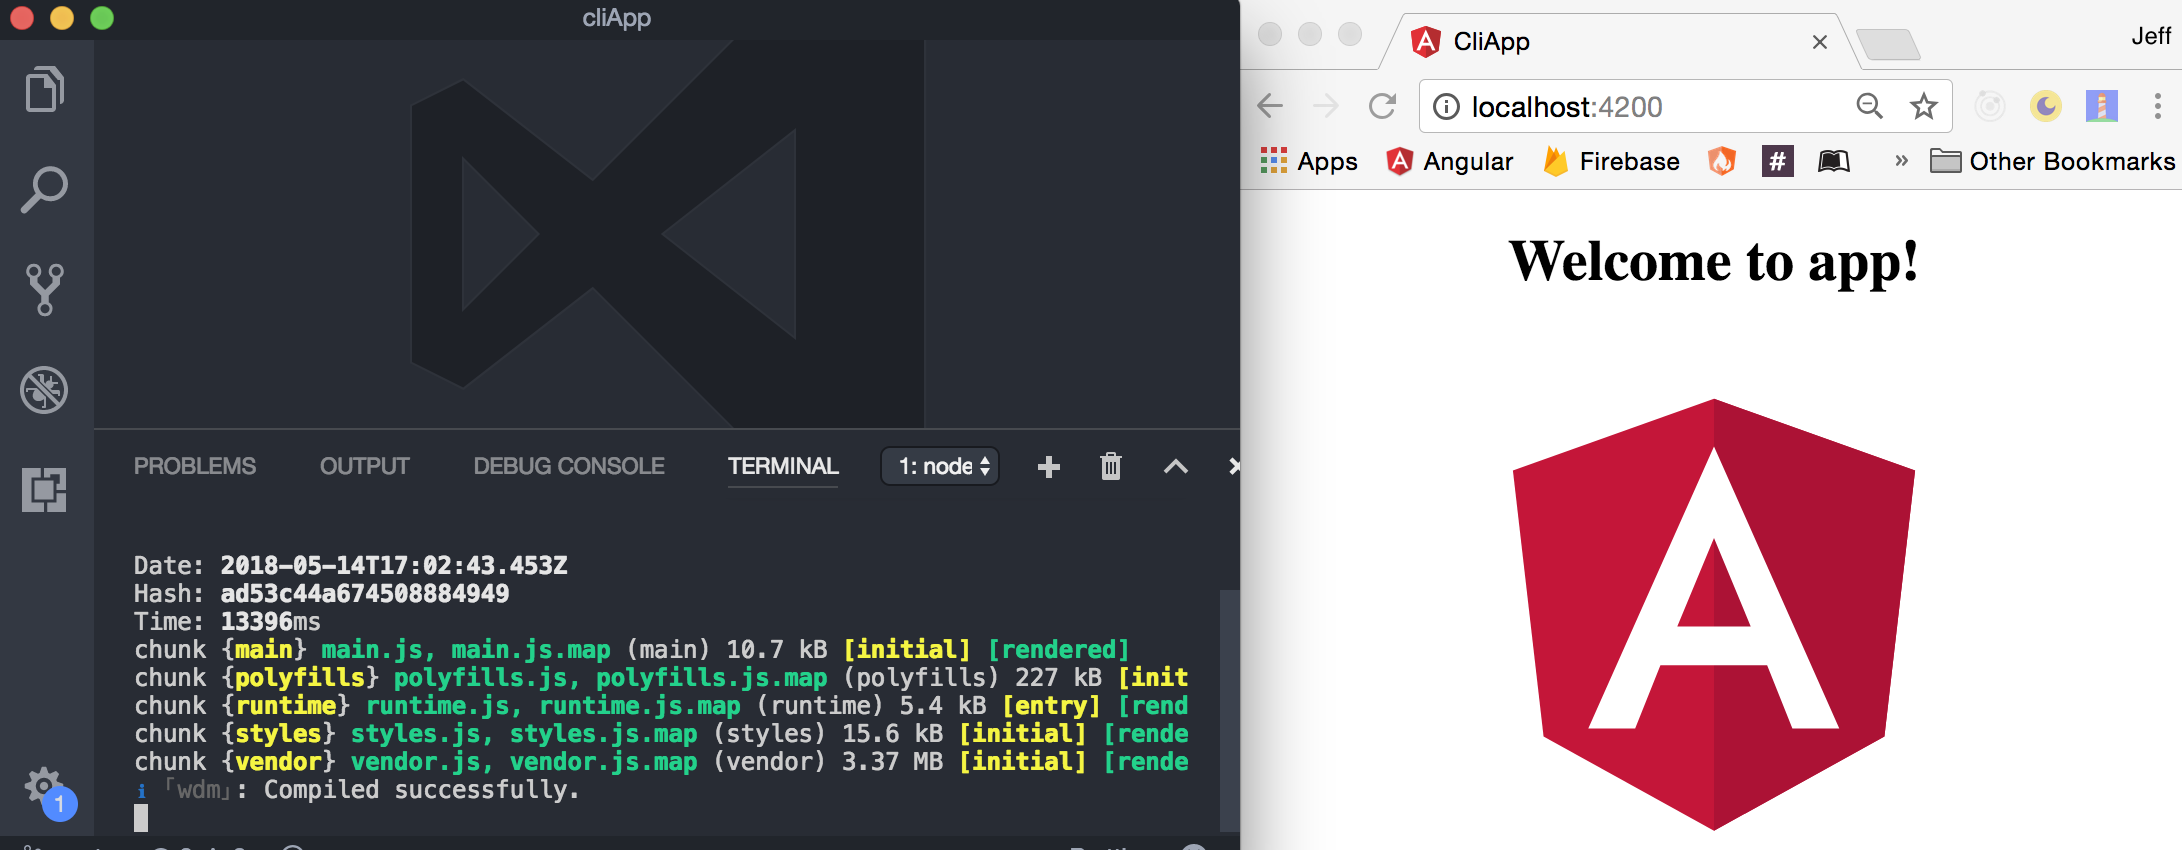
Let’s make sure the app works in the browser.
ng serve -o |
Passing the -o flag will automatically pull up a browser window with localhost:4200 serving your app.
3. Generate
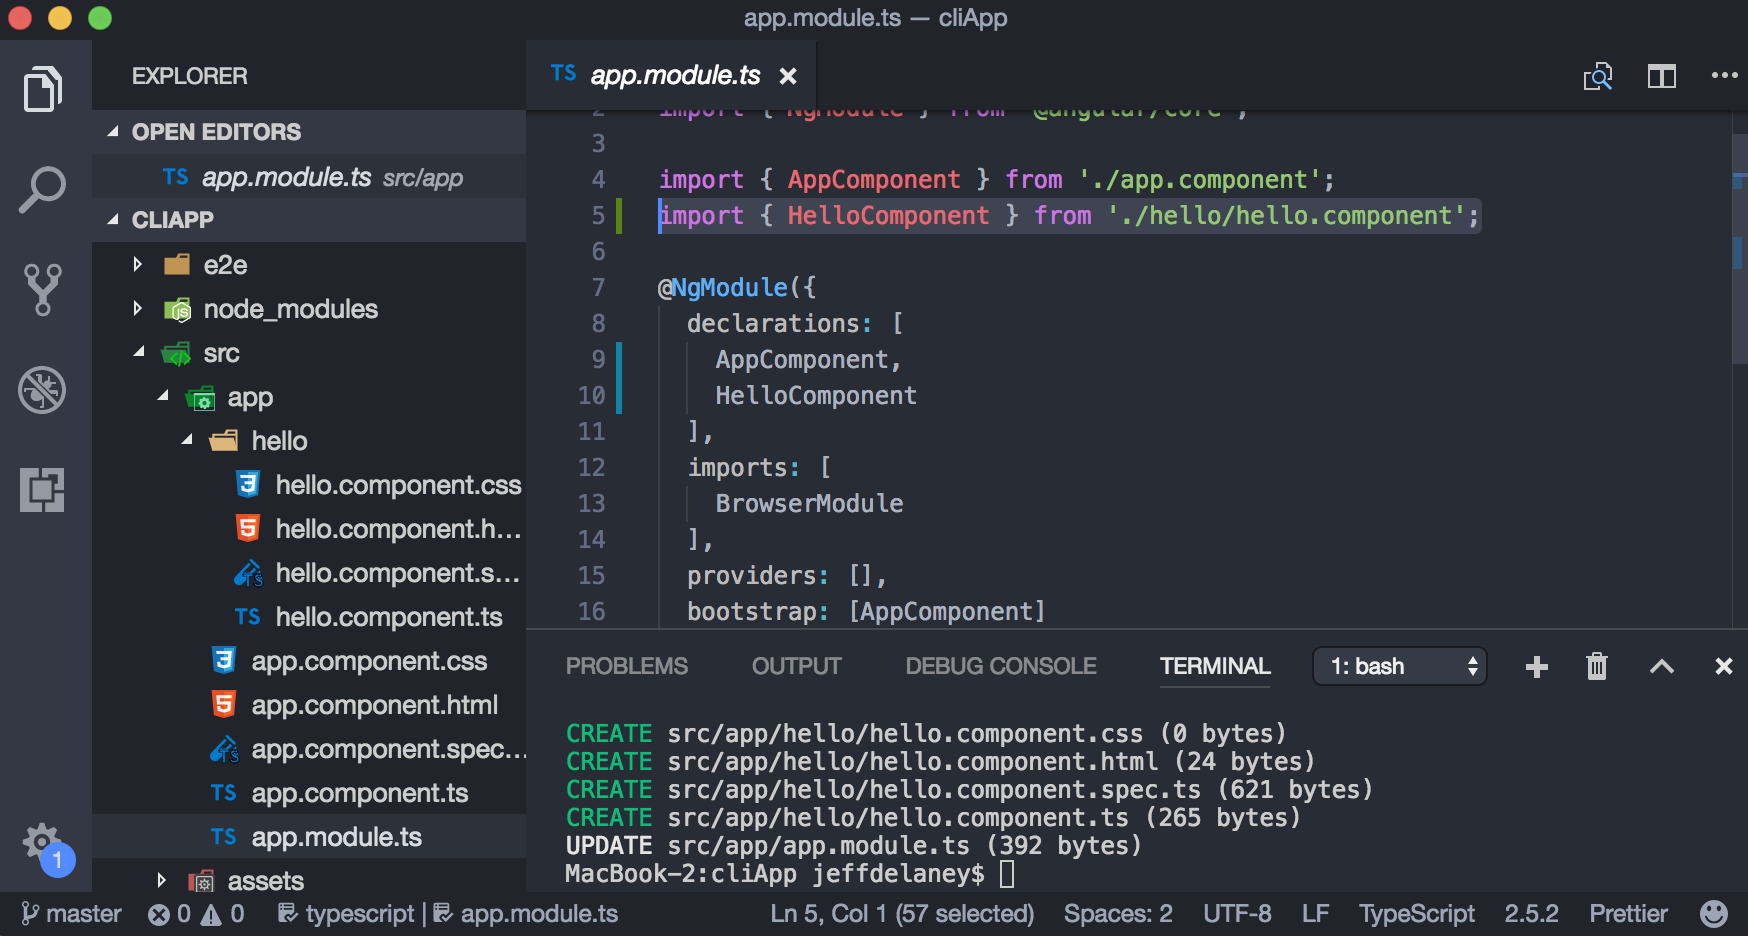
The generate command is the most powerful feature of the CLI and you will use it to quickly scaffold boilerplate code. In addition, it will update your NgModule with the TypeScript import and declaration.
ng generate component hello |
Customizing the Generate Process
Here are a few of my favorite ways to customize the generate process
Skip Specs
ng g component hello --spec false |
Export the Component
ng g component hello --export |
Inline Template and Stylesheet
ng g component hello -t -s |
Building Feature Modules
In many cases, you will want to add your components and services to a feature module.
First, generate the module.
ng g module guitar |
This will create a /guitar directory. We can add components to our module by (1) placing them inside this directory:
ng g component guitar/strings |
Or (2) adding the --module or -m flag when generating the file.
ng g component strings --module guitar |
Build NPM Libraries
In the CLI v6, we can now add libraries. For more details, see my NgPackagr tutorial.
ng g library useful-stuff |
Generate a Universal App
The CLI can also generate an Angular Universal app for server-side rendering. For more details, see my Angular Universal with Firebase tutorial.
ng g universal --client-project myApp |
4. Add
In Angular 6, we were introduced to a powerful new add command. It allows 3rd party packages to be wired into your app with zero setup. It will install the package via NPM, take care of the imports in the NgModule, and generate any other necessary boilerplate files - so nice!
Add Angular’s Service Worker
In past lessons, I have shown you how to build a progressive web app from scratch in Angular. Thanks to the new ng add command, we can create all the of PWA resources much faster.
ng add @angular/pwa |
Add a Third-Party Component Library
Any third-party library can create schematics for their their boilerplate code. For example, you can instantly add NgBootstrap to your app. This will install the NPM dependencies and update the NgModule imports.
ng add @ngbootstrap/schematics |
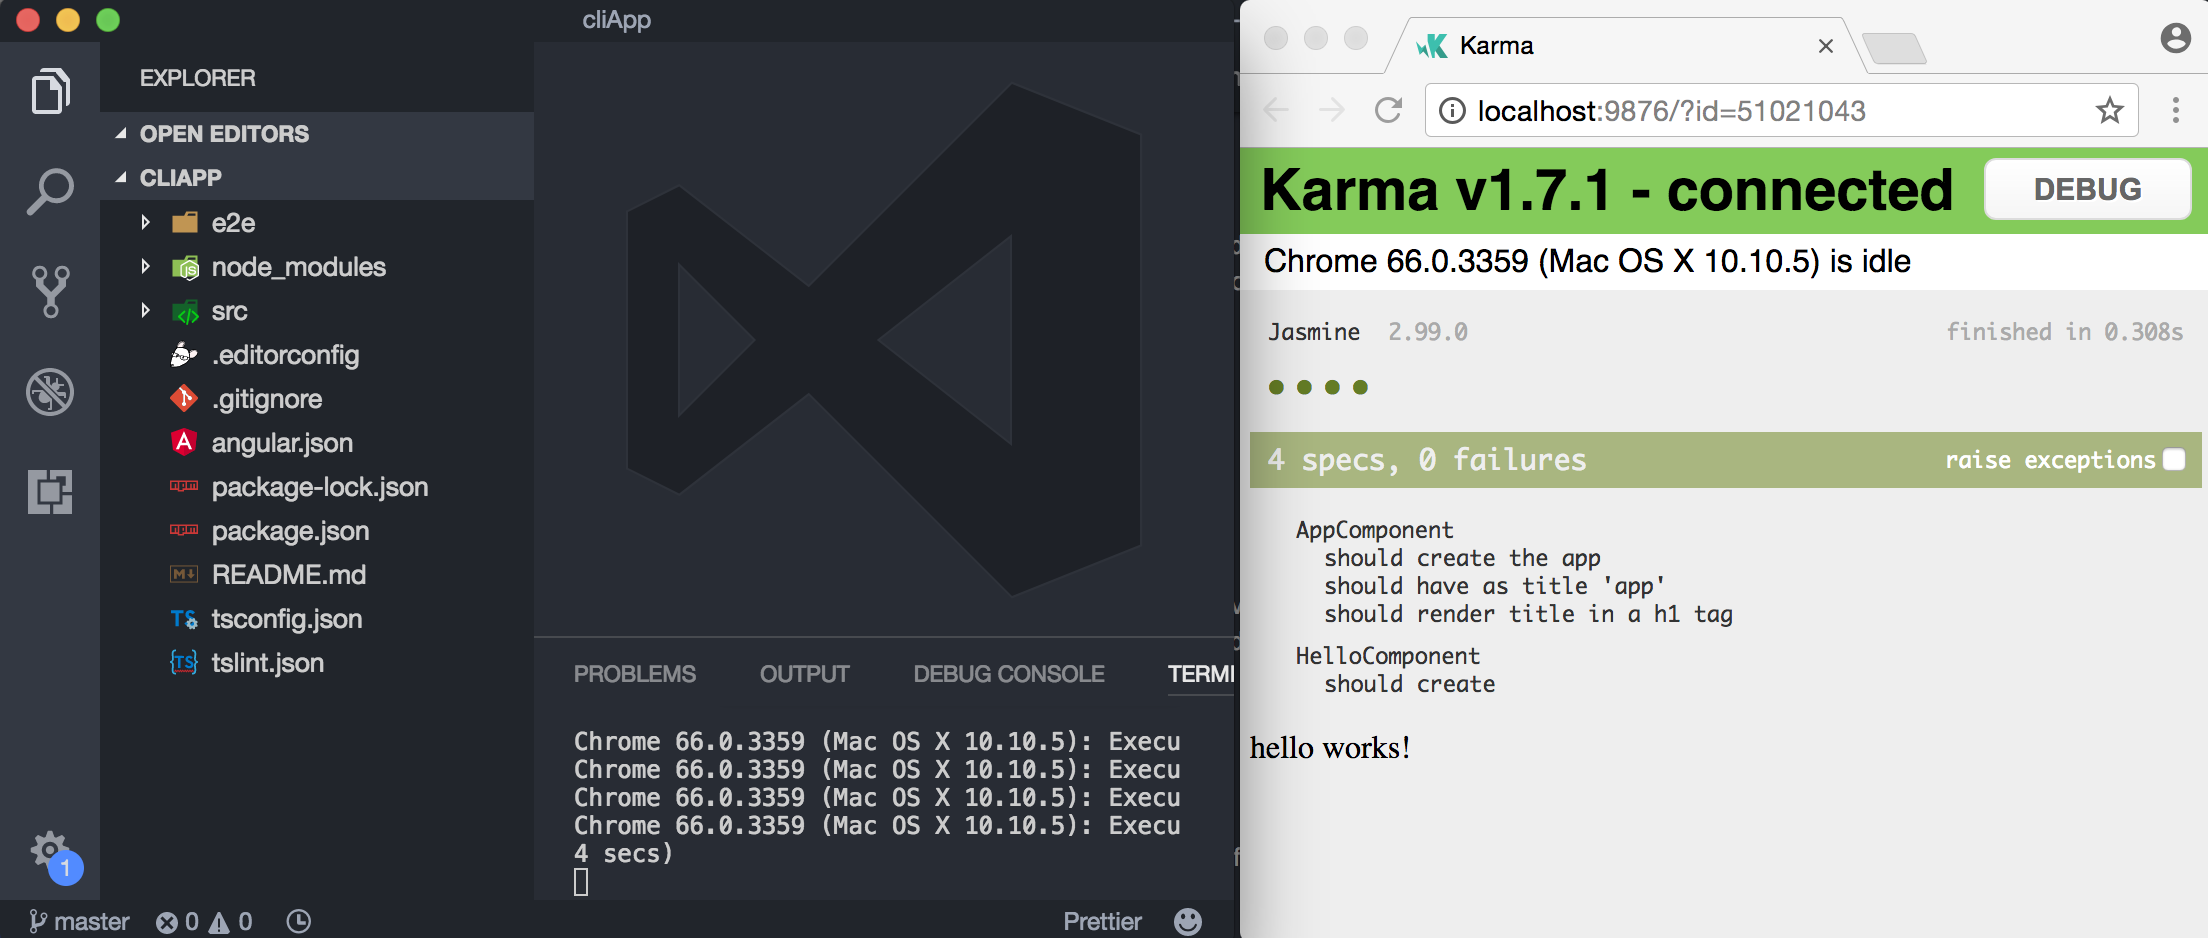
5. Test
The angular CLI creates code to perform test-driven development (TDD) each time you run the generate command. You can run all of your tests in the background with a single command.
ng test |
Angular also creates end-to-end tests that you can run with
ng e2e |
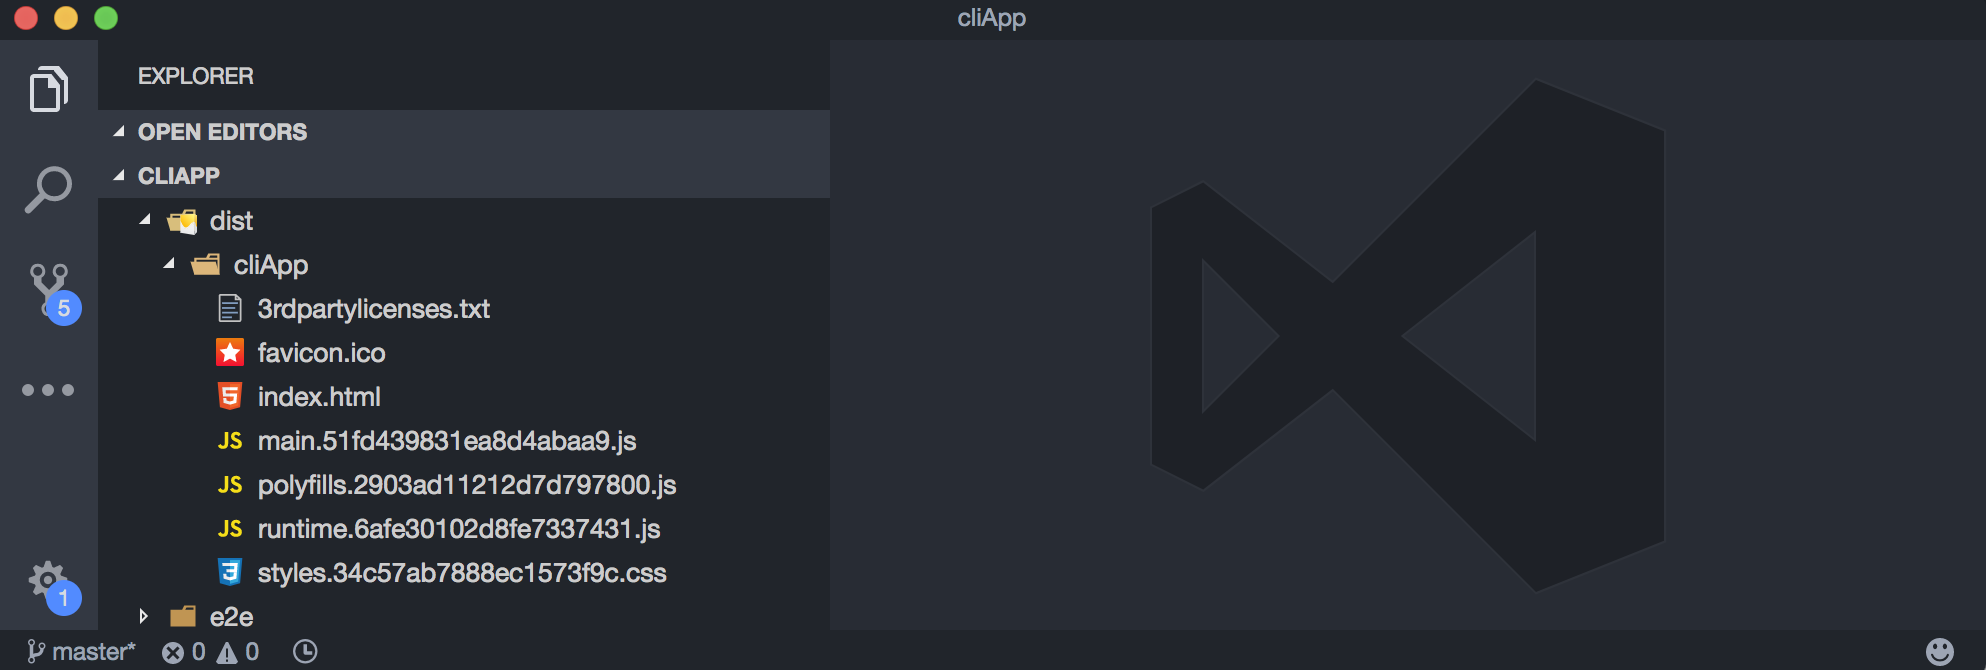
6. Build
After your app has been developed and all tests pass, you will need to compile it to a format that can be deployed.
ng build --prod |
Again, the configuration options for your production build are best managed in the angular.json file. By default, the compiled app will be built in the dist folder.
7. Additional Tricks
The CLI still has a ton of tricks up its sleeve. Here are a few clever commands that you can use to further boost your productivity.
Update to the Latest Angular Version
Also new in Angular 6, we can now update the Angular, RxJS, and TypeScript packages in our app with a single command.
ng update |
Look up Documentation
Stuck on something? Just run the doc command with the search term and it will automatically direct you to the the official Angular documentation for that term.
ng doc viewChild |
The End
The Angular CLI has additional functionality beyond this article, but we covered the most common use cases. When used effectively this tool will save you many, many hours of development time.