You have unlimited access as a PRO member
You are receiving a free preview of 3 lessons
Your free preview as expired - please upgrade to PRO
Contents
Recent Posts

- Object Oriented Programming With TypeScript
- Angular Elements Advanced Techniques
- TypeScript - the Basics
- The Real State of JavaScript 2018
- Cloud Scheduler for Firebase Functions
- Testing Firestore Security Rules With the Emulator
- How to Use Git and Github
- Infinite Virtual Scroll With the Angular CDK
- Build a Group Chat With Firestore
- Async Await Pro Tips
Angular Component Test Driven Development (TDD) Starter Guide
Episode 74 written by Jeff Delaney
Testing your Angular app requires more development effort in the short-term, but can prevent bugs and regressions that will save you time, money, and headache in the long-term.
Testing is the single-most effective tool for preventing software bugs. That’s not just my opinion, it is a scientifically proven fact backed by empirical studies.

Source: Effects of Test-Driven Development: A
Comparative Analysis of Empirical Studies. Simo Mäkinen and Jürgen Münch. University of Helsinki.
Angular uses it’s own testing utilities, combined with the popular JavaScript libraries Jasmine and Karma, to make it easy for developers to test their code. When frontend JavaScript frameworks first hit the scene, a lack of test-ability was one of their harshest criticisms. Today, testing in Angular is as powerful as any other software development field.
High Level Overview
- Component Tests: We are going to focus primarily on shallow component tests, which render a component’s HTML and CSS. We will also test async operations and integrate the component’s dependencies, including AngularFire2.
- End-to-End: Also called functional testing, these types of tests will simulate the user experience by running your app through the browser. This allows you to test critical activities, such the user sign-up flow, from start to finish.

Let the CLI handle Boilerplate
The angular CLI handles virtually all of the boilerplate code required to run tests. Let’s quickly demystify all of the testing boilerplate you would find in a new Angular app.
karma.conf- Tells Karma how to run your tests.protractor.conf- Tells proteactor how to run end-to-end testse2e- Your end-to-end tests are kept heresrc/test.ts- recursively loads all the spec and framework files for testing**.spec.ts- Anything you generate with the CLI includes a spec file where you define the actual tests.
Anatomy of a Jasmine Test Suite
Testing is really easy - don’t overthink it.
describewhat your testing. This is your testsuite.itshould have some expected behaviors. These are yourspecs.expector assert these behaviors to hold true. These are yourexpectations
describe('MyAwesomeComponent', () => { |
Executing your test suite is as easy as running one of the follow commands:
ng test |
Angular will re-run your test suite whenever a file changes so you can immediately detect failing code.
What is a Test Bed?
First, we need to learn about concept of a Test Bed. If you’re unfamilar with NgModules at this point, I recommend watching the linked video to get up to speed.
A Test Bed creates an Angular testing module, which is just a class an NgModule class. For example, notice how you have the declarations: [ AlertButtonComponent ] meta data just like any NgModule. This makes it possible to test your components in isolation.
beforeEach(async(() => { |
What is a Fixture?
In TDD, a test fixture creates a repeatable baseline for running tests. The beforeEach method initializes the AlertButtonComponent class in in the same way for each test. In this case, we also want to trigger change detection on the component with detectChanges. You can also trigger other lifecycle hooks here, such as destroy.
beforeEach(() => { |
At this point, we have a pattern that can be repeated before each test. Now let’s go over some of the most common tests you might need to write for a component.
Building the Component and Service
Most of your testing is likely to be conducted in Components. For this demo, I am generating an alert button that will undergo a battery of tests.
ng g component alert-button |
Now let’s build the component. It’s nothing more than a button the user can click that will show/hide the button’s alert message. I commented out the the Observable data for now, but those lines will be used when we test data that is queried from an API.
import { Component, OnInit } from '@angular/core'; |
Seven Simple Tests
Well-written tests can be read and understood by a non-programmer. Jasmine provides a bunch of matchers that help you write expressive tests. Try to make them say exactly how your component should behave - this is the foundation of Behavior Driven Development (BDD).
1. Is something truthy or falsey?
Truthy means the item will evalualte to true on a conditional test, it does not have be a primitive true.
toBeTruthy() is like saying something == true
it('should create', () => { |
Its polar opposite toBeFalsey() is like saying something == false. It will pass for values like false, null, 0, undefined and so on.
2. Is something an exact value?
it('should have an severity level of 423', () => { |
Other useful related matchers include toEqual(), toBeDefined() and toBeNull().
3. Does something contain another value?
You can see if a string contains a substring, or if an array contains a specific element.
it('should have a message with `warn`', () => { |
For more complex string matching you can use regex.
it('should have a message with `warn`', () => { |
4. Does something meet a logical condition?
Logical tests allow you to make numeric comparisons and work just like operators they describe, i.e. >, >=, and so on.
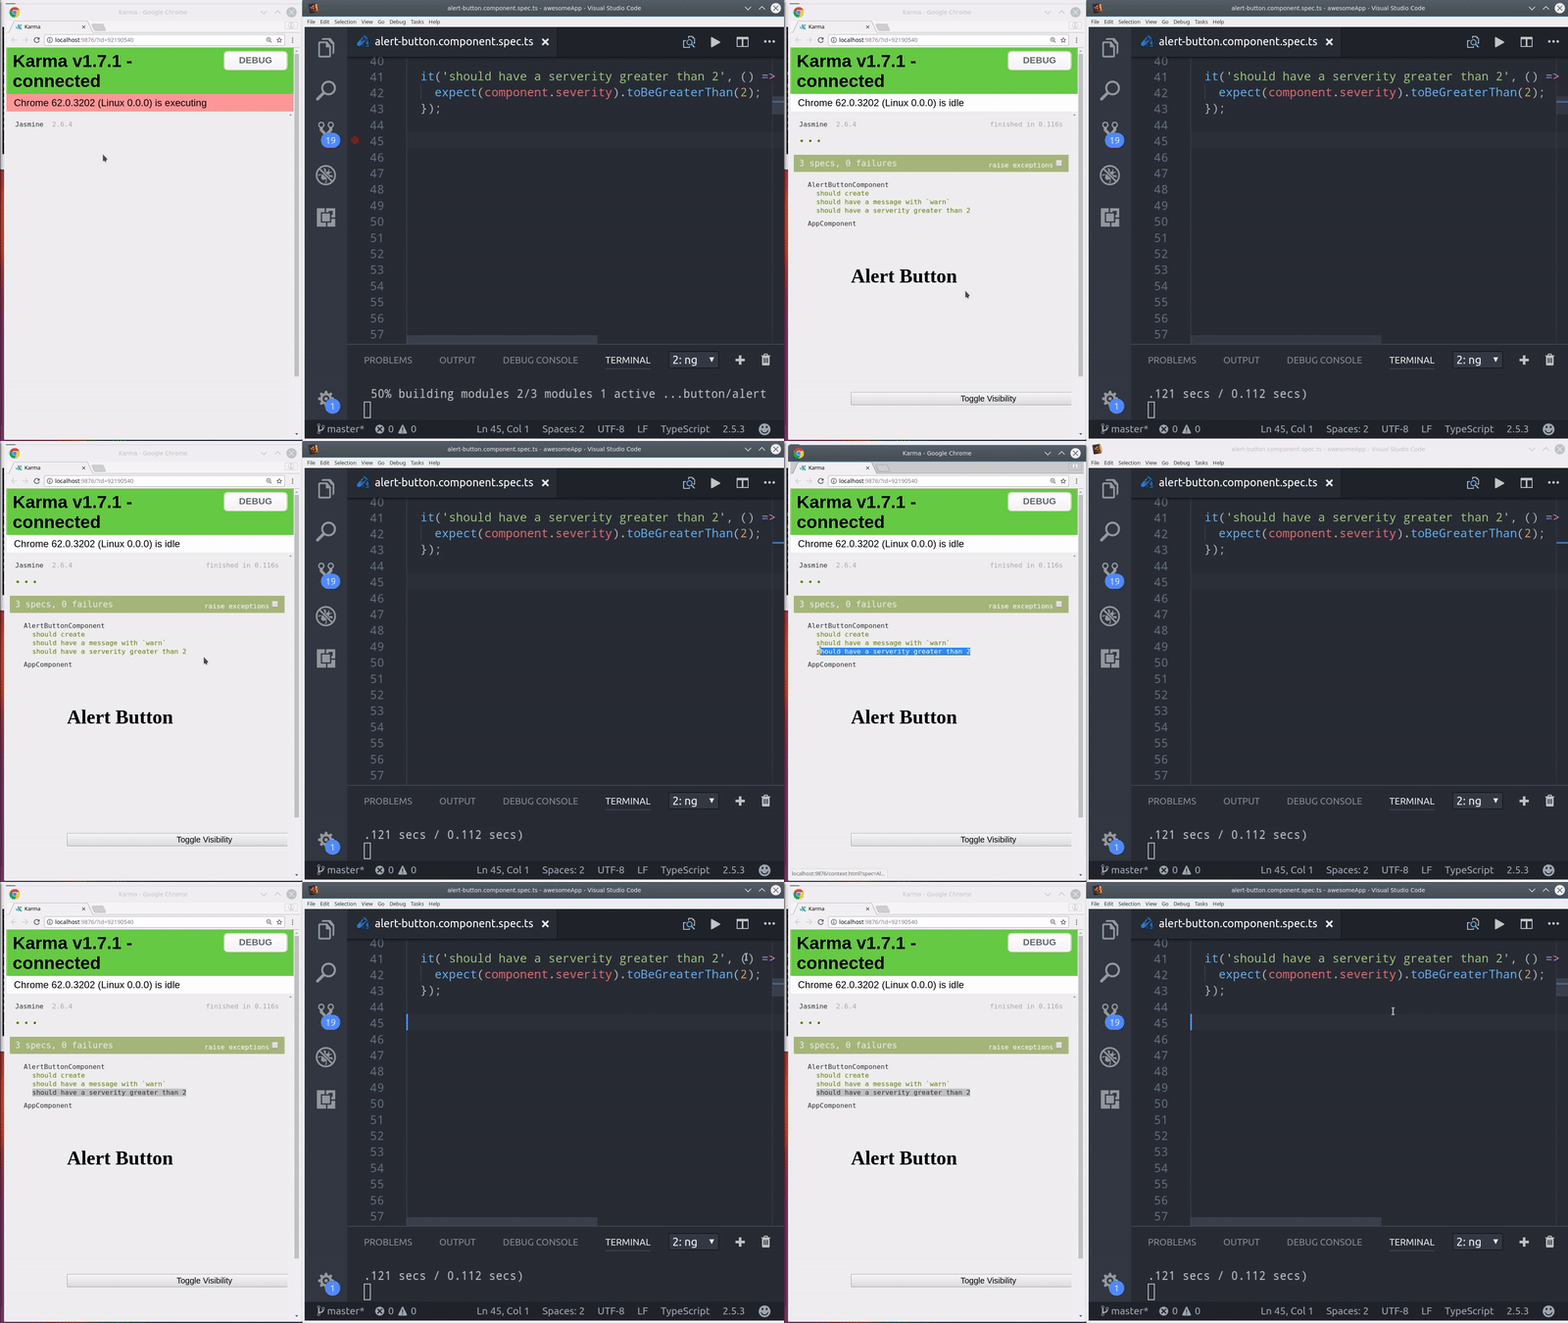
it('should have a serverity level greater than 2', () => { |
5. Does a method work as expected?
The toggleMessage method on the component changes the value of a boolean variable on the component. Many of your tests will combine expectations to simulate how a certain variable reacts to changes.
it('should toggle the message boolean', () => { |
6. Does a DOM element get rendered correctly?
The DebugElement makes it possible to query DOM elements in the component tempate to ensure they are rendered properly.
it('should have an h1 tag of `Alert Button`', () => { |
7. Test Async Operations
So far, everything all the tests I’ve shown you have been synchronous, but Angular apps rely heavily on async activity. Let’s say we add a 500ms RxJS timer when toggling the message visibility.
// alert-message.component.ts |
We can test this code by running it inside a fake async zone, then using tick() with the number of of miliseconds to simulate the passage of time.
// Async |
You can also test the value of contained inside an Observable.
it('should have message content defined from an observable', fakeAsync(() => { |
That’s a good start, but there’s a lot more to testing. To demonstrate some more advanced testing concepts, let’s test our component with an external data source.
How I Test Data Sources like AngularFire2
Testing Firebase in Angular can be pretty tricky. The Firebase SDK performs a good deal of magic under the hood that is hard to reproduce as a mock backend. My typical strategy is to use simple stubs and spys that return observables for component unit tests. I also like to use protractor e2e testing as an additional sanity check that the UI works as intended. Let’s start with the easiest approach - create a stubbed service.
Test an Async Service with a Stub
Although it’s possible to run tests with live data, it is safer and easier to use a stub for testing. The stub will just simulate AngularFire2 by returning an Observable of some testing data.
The important changes are here:
import { MessageService } from '../message.service'; |
That spec is not very useful on its own, but you can now use the stubbed data to run tests in your component without making live requests to Firebase.
Test an Async Service with a Spy
The main drawback with a stub is that you can’t keep track of how the method was called or what arguments were passed to it. In certain cases, it can be beneficial to use a spy, which is like a stub, but records how it was called in the test. This allows you to catch problems related to methods being called multiple times or with the wrong arguments. You create spies by using the actual live service, but setting a stubbed return value so a live HTTP request is never made.
import { AngularFireModule } from 'angularfire2'; |
End-to-End (e2e) Testing with Protractor
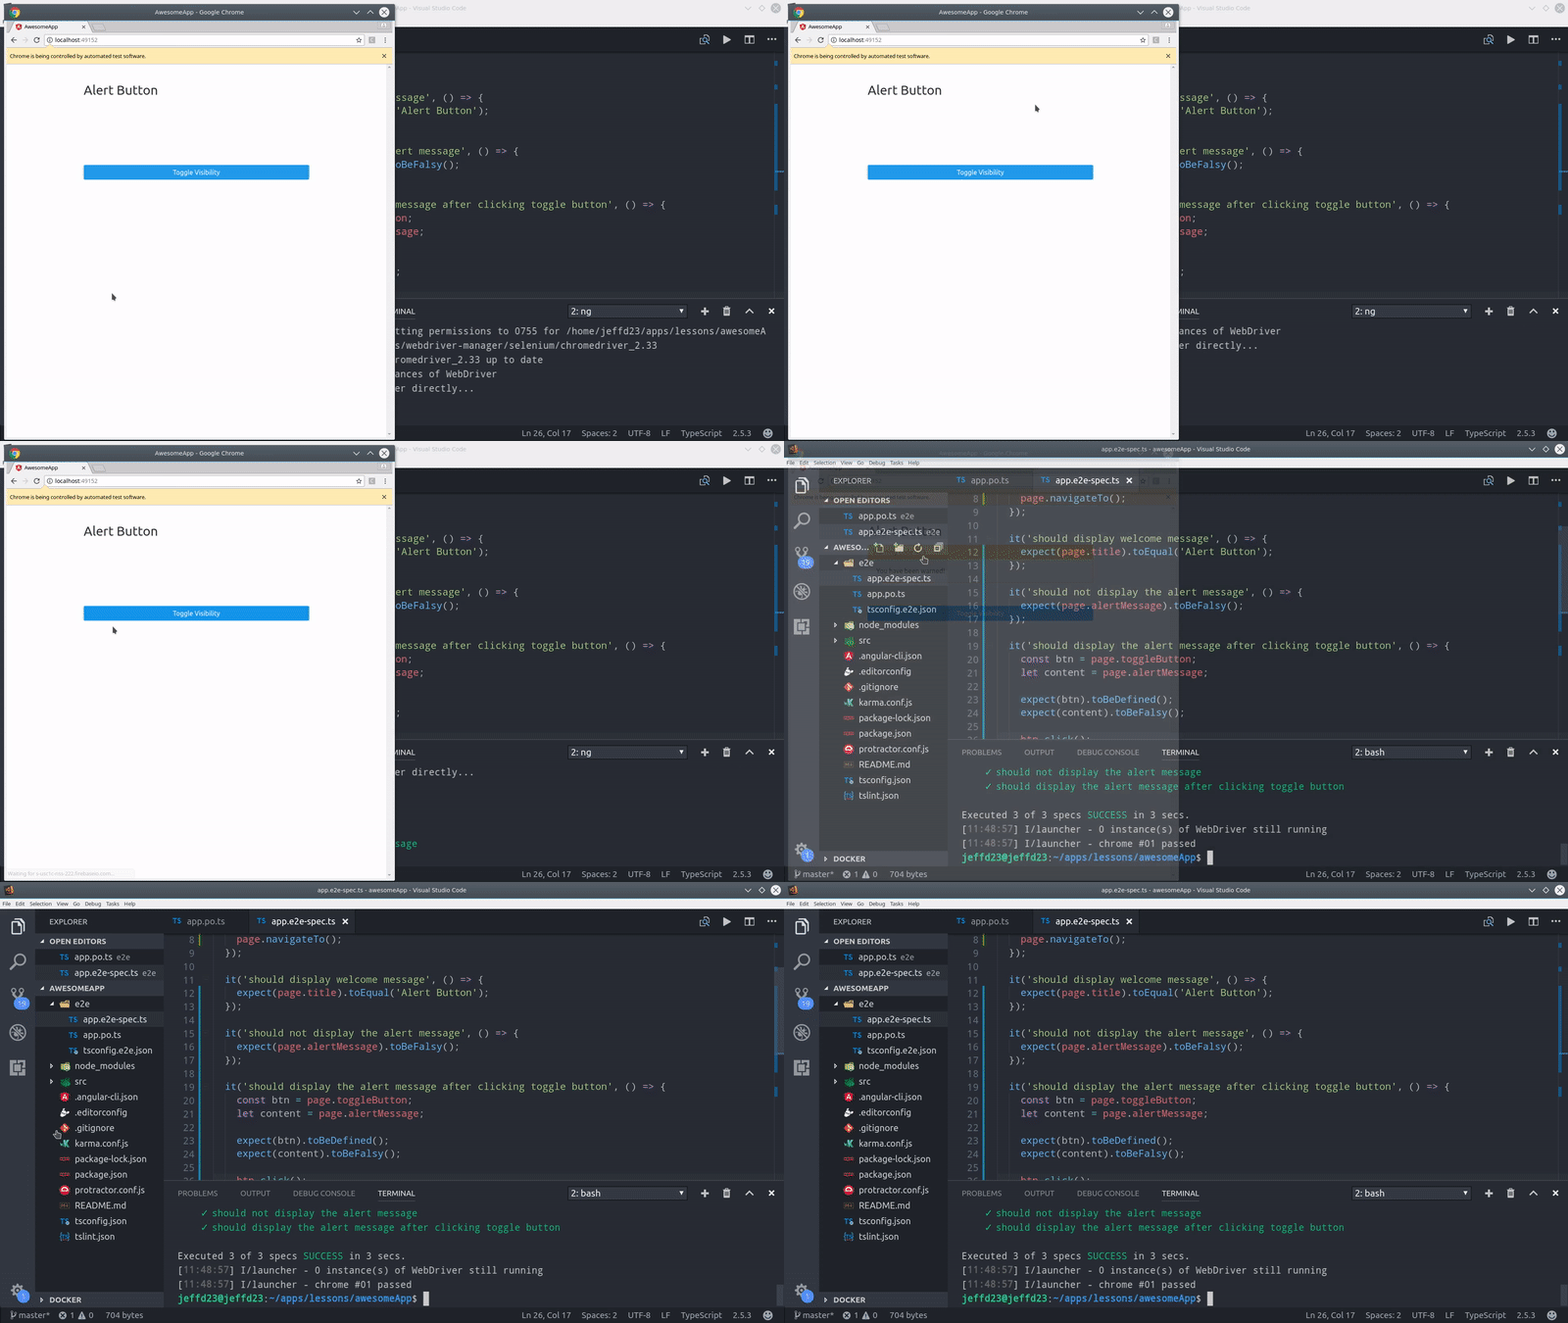
Protractor documentation is limited, but it is the coolest testing tool Angular has to offer in my opinion. Unlike the isolated tests we created in the previous section, it will simulate how an end user experiences your app by running it on a web browser. You can click buttons, fill out forms, and iteract with the app in a very natural way.
When it comes to testing the complex realtime behavior of Firebase, it is often much easier to write e2e tests, rather than try to simulate edge cases with a mock backend. If you go this route, I highly recommend setting up separate development and production projects in Firebase so you don’t accidently screw-up all of your live user data.

Dealing with Web Sockets
Firebase uses websockets to maintain a realtime connection to the server. Protractor sees this as a pending operation that will cause your tests to timeout. There is a community-maintained plugin that can help prevent this issue for now, but the issue should be resolved in the future.
Install it to dev-dependencies:
npm install --save-dev protractor-testability-plugin |
Then add it to protractor.conf.js:
plugins: [{ |
Page Objects app.po.ts
The app.po.ts is where you define the actual elements from the DOM that you want to interact with or test. You can grab elements by their CSS class, ID, or tag name, then you can test their content or interact with them.
In this example, we will test the alert message by then clicking its toggle button, then test that it’s message was asynchronously populated by AngularFire2.
import { browser, by, element } from 'protractor'; |
app.e2e-spec.ts
You can see the Jasmine test format is almost identical to the the unit tests we wrote earlier.
import { AppPage } from './app.po'; |
The End
That’s it for component testing basics. Let me know if you have any questions in the comments or chat with me on Slack.

