You have unlimited access as a PRO member
You are receiving a free preview of 3 lessons
Your free preview as expired - please upgrade to PRO
Contents
Recent Posts

- Object Oriented Programming With TypeScript
- Angular Elements Advanced Techniques
- TypeScript - the Basics
- The Real State of JavaScript 2018
- Cloud Scheduler for Firebase Functions
- Testing Firestore Security Rules With the Emulator
- How to Use Git and Github
- Infinite Virtual Scroll With the Angular CDK
- Build a Group Chat With Firestore
- Async Await Pro Tips
Ionic 4 CSS Variables - Build a Dynamic Theme Generator
Episode 128 written by Jeff Delaney
Health Check: This lesson was last reviewed on and tested with these packages:
- Ionic v4
- Angular v6
Find an issue? Let's fix it
Source code for Ionic 4 CSS Variables - Build a Dynamic Theme Generator on Github
One of the major changes to theming in Ionic 4 is the use of CSS variables, which are simply CSS values that can be reused across multiple elements or components. Unlike variables in Sass or LESS that need to be compiled, they can be changed and interpreted by the browser on the fly. This is an extremely powerful feature for web components that use the Shadow DOM, like Ionic 4.
The following lesson will teach you the basics of CSS Variables, then we show you how to create a dynamic theme generator that works across all platforms. A common use-case for variables is to build a frontend UI that allows users to switch between light and dark mode. A great real-world example is the Dark Mode for YouTube.
CSS Variable Basics
CSS variables are really simple. The most basic usage is to define a set of global variables for common theme elements like color, border radius, shadows, etc. It is common to set global vars on the :root because it ensures that they will be picked up by all other elements in the DOM.
In the example below, we define a variable named --primary-color as the color orange. Then we use it as the background on a button var(--primary-color).
:root { |
It’s also smart to provide a fallback value, just in case the variable is undefined.
button { |
Variables cascade just like regular CSS. If you override a variable, its children will inherit the new value.
|
In the snippet above, the article will be orange, while the button will be blue.
How Ionic uses CSS Variables
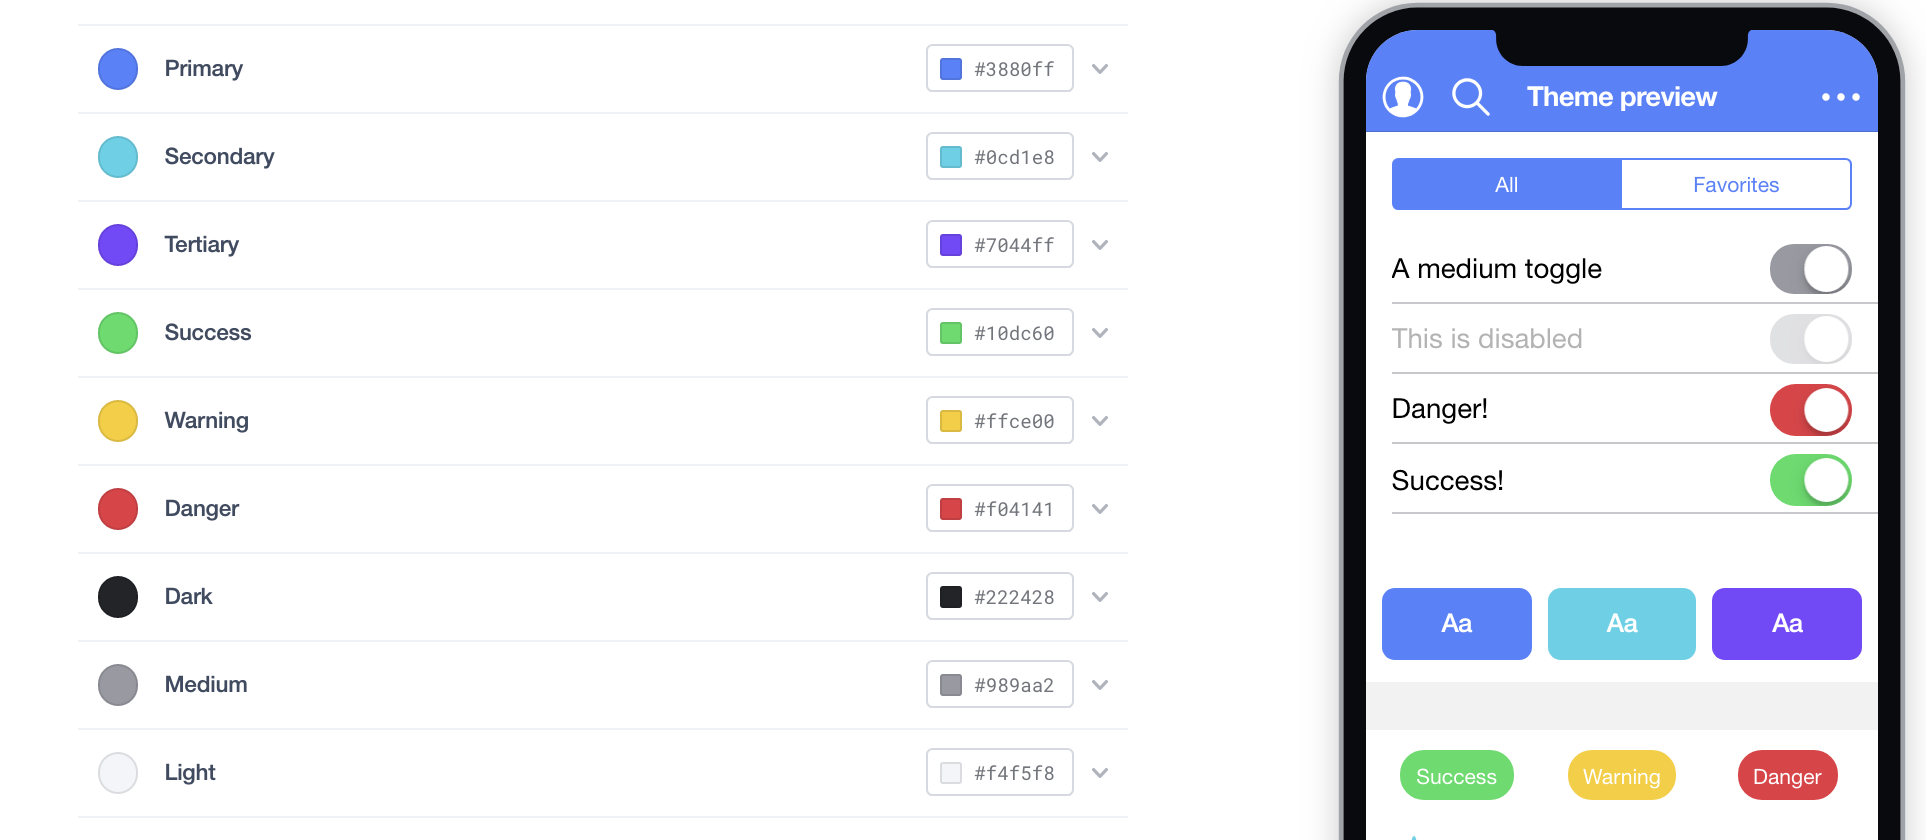
Ionic has a large set of global CSS variables that can be used to style virtually all aspects of the application. You can find them in the src/theme/variables.scss file. I recommend checking out Ionic’s new Color Theme Generator and use Coolors.co if you need inspiration for a color pallette.

Building a Custom Theme Generator with Ionic 4
Our goal is to build a theme controller that makes composing unique themes as easy as possible. When we finish the service, creating a new theme is as easy as passing it a new object with 1 to 8 colors.
ionic generate service theme |
We will be installing a utility library called color to calculate the correct tint, shade, and contrast for our base colors.
npm i color |
Pure Function for Generating a CSS String
Our goal is to send a few pass in an object of input colors, then return a CSS string that overrides the global Ionic CSS variables. The code below is quite simple - pass in an object of colors, then use them to define our CSS as a string.
You can include this code inside the theme.service or any other file of your choosing. I omitted most of the CSS to keep it short, but you can find the full source code on github.
import * as Color from 'color'; |
Theme Generator Service
Now that we have the logic for creating a CSS theme, we just need some basics JavaScript to update it on the DOM. The service below provides a setTheme method to update ALL global variables, and another setVariable method to create/update an individual CSS variable.
import { Injectable, Inject } from '@angular/core'; |
Saving Themes Across Sessions with Ionic Storage
If the user refreshes the page their current theme will revert back to the default. That’s not a great user experience, but we can fix it easily with the Ionic Storage package.
|
Using the Theme Service in a Component
All the hard work is done. Now we just need to inject our ThemeService into a page or component and put it to use.
Change the Global Theme
In my home page, I have defined a set of themes that can be updated when the user clicks a button.
import { Component } from '@angular/core'; |
Now we can just bind the theme options to a few buttons:
<ion-button (click)="changeTheme('autumn')">Autumn</ion-button> |
Controlling CSS Animations with Variables
Another cool trick we can pull off with CSS variables is to control animation parameters. Let’s setup an animation for a rotating spinner:
@keyframes spin { |
Then we can define another handler in our component.
@Component(...) |
And lastly, we setup a buttons so the user can change the animation rotation speed in the UI:
<ion-button (click)="changeSpeed(2000)">Slow</ion-button> |
The End
Hopefully this article gave you a solid understanding of CSS variables and how awesome they are as a theme building tool. The theme generator code in this lesson is not perfect, but it could easily be tweaked to fit the needs of your app. Let me know if you have any questions by leaving a comment below.

