You have unlimited access as a PRO member
You are receiving a free preview of 3 lessons
Your free preview as expired - please upgrade to PRO
Contents
Recent Posts

- Object Oriented Programming With TypeScript
- Angular Elements Advanced Techniques
- TypeScript - the Basics
- The Real State of JavaScript 2018
- Cloud Scheduler for Firebase Functions
- Testing Firestore Security Rules With the Emulator
- How to Use Git and Github
- Infinite Virtual Scroll With the Angular CDK
- Build a Group Chat With Firestore
- Async Await Pro Tips
Development and Production Environments for Angular Firebase Projects
Episode 1 written by Jeff Delaney
Health Check: This lesson was last reviewed on and tested with these packages:
- firebase-tools v3.18
Find an issue? Let's fix it
One of the first questions to ask when starting a new app is how should I structure my deployment environment? Keeping your development and production environments isolated is a critical part of building maintainable apps and you may want to add additional environments in between, such as staging. It may seem trivial at first, but once your app starts growing, having isolated deployment environments will ensure your data stays unpolluted and allow new features to be tested safely.
Starting from Scratch
Clone the Angular Firebase Starter App, then create the environment files manually as directed in the README.
Or build your app from scratch.
ng new mycoolapp |
The environment files are automatically generated in /src/environments/.
Create Two Separate Firebase Projects
The great thing about Firebase is that it’s free for low volume usage. This makes it possible create a standalone development environment that is completely isolated from your live production data. When your production app grows into a global cluster of autoscaled virtual machines, you will still have a small development project for testing new ideas and features.

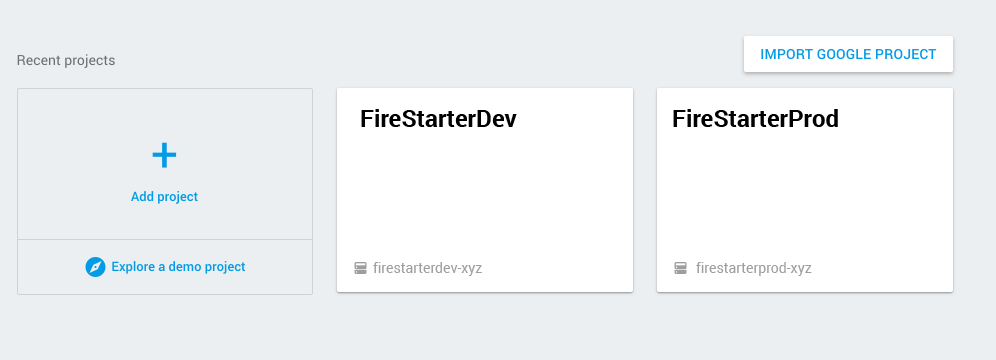
Your firebase console should look something like this. Two separate projects for development and production.
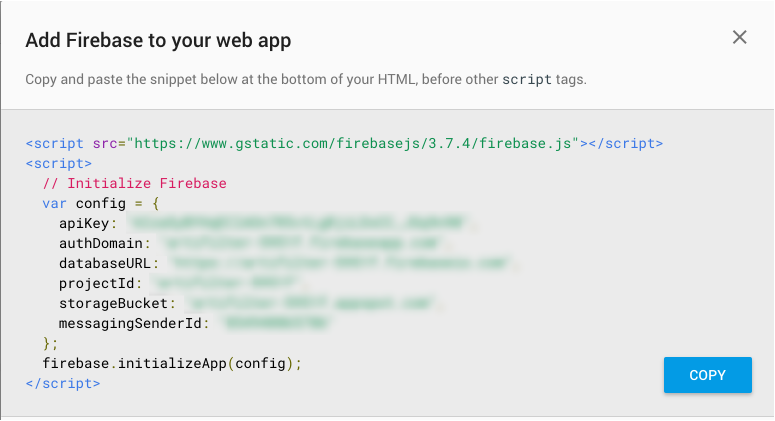
After creating your projects, grab the credentials by clicking the “add firebase to your web app” link inside each project. You will only need the config variable - omit the extra script tags.
 Copy and paste the firebase credentials into each environment file.
Updating the Environment Files
The Angular CLI creates an environments directory with a two files - one for development and one for production. Using the credentials from each project, add the firebase config as its own object into the environment constant like so…
environments/environment.ts
export const environment = { |
Bootstrapping the Firebase Environment
In order to use the environment variables in your project, they need to be bootstrapped in the app module. Using AngularFire2, we can export the environment config and initialize it in the imports array.
app.module.ts
import { environment } from '../environments/environment'; |
Use the Environment Variables Anywhere
The firebase configuration is only needed the app module, but you may find yourself wanting to use other environment variables throughout your app. It’s as simple as importing the environment file, then calling its attributes. Maybe you’re interacting with another server that uses separate paths for development and production…
import { environment } from '../environments/environment'; |
Serving the App Locally in Either Environment
Normally, you will be serving the app in the development environment.
ng serve |
You can also serve in the production environment by passing an extra flag to the command. Keep in mind that you will be working with your user facing app when serving in production, so don’t accidentally delete all your data!
ng serve --prod |
Building a Deployable App
ng build --prod |
Running this command will build your app in the dist directory, which you can then deploy the app to Firebase, AWS, or any other hosting service. Check out deplying your Angular app to firebase tutorial for more on the actual deployment process.

