You have unlimited access as a PRO member
You are receiving a free preview of 3 lessons
Your free preview as expired - please upgrade to PRO
Contents
Recent Posts

- Object Oriented Programming With TypeScript
- Angular Elements Advanced Techniques
- TypeScript - the Basics
- The Real State of JavaScript 2018
- Cloud Scheduler for Firebase Functions
- Testing Firestore Security Rules With the Emulator
- How to Use Git and Github
- Infinite Virtual Scroll With the Angular CDK
- Build a Group Chat With Firestore
- Async Await Pro Tips
Firebase Storage With AngularFire - DropZone File Uploader
Episode 82 written by Jeff Delaney
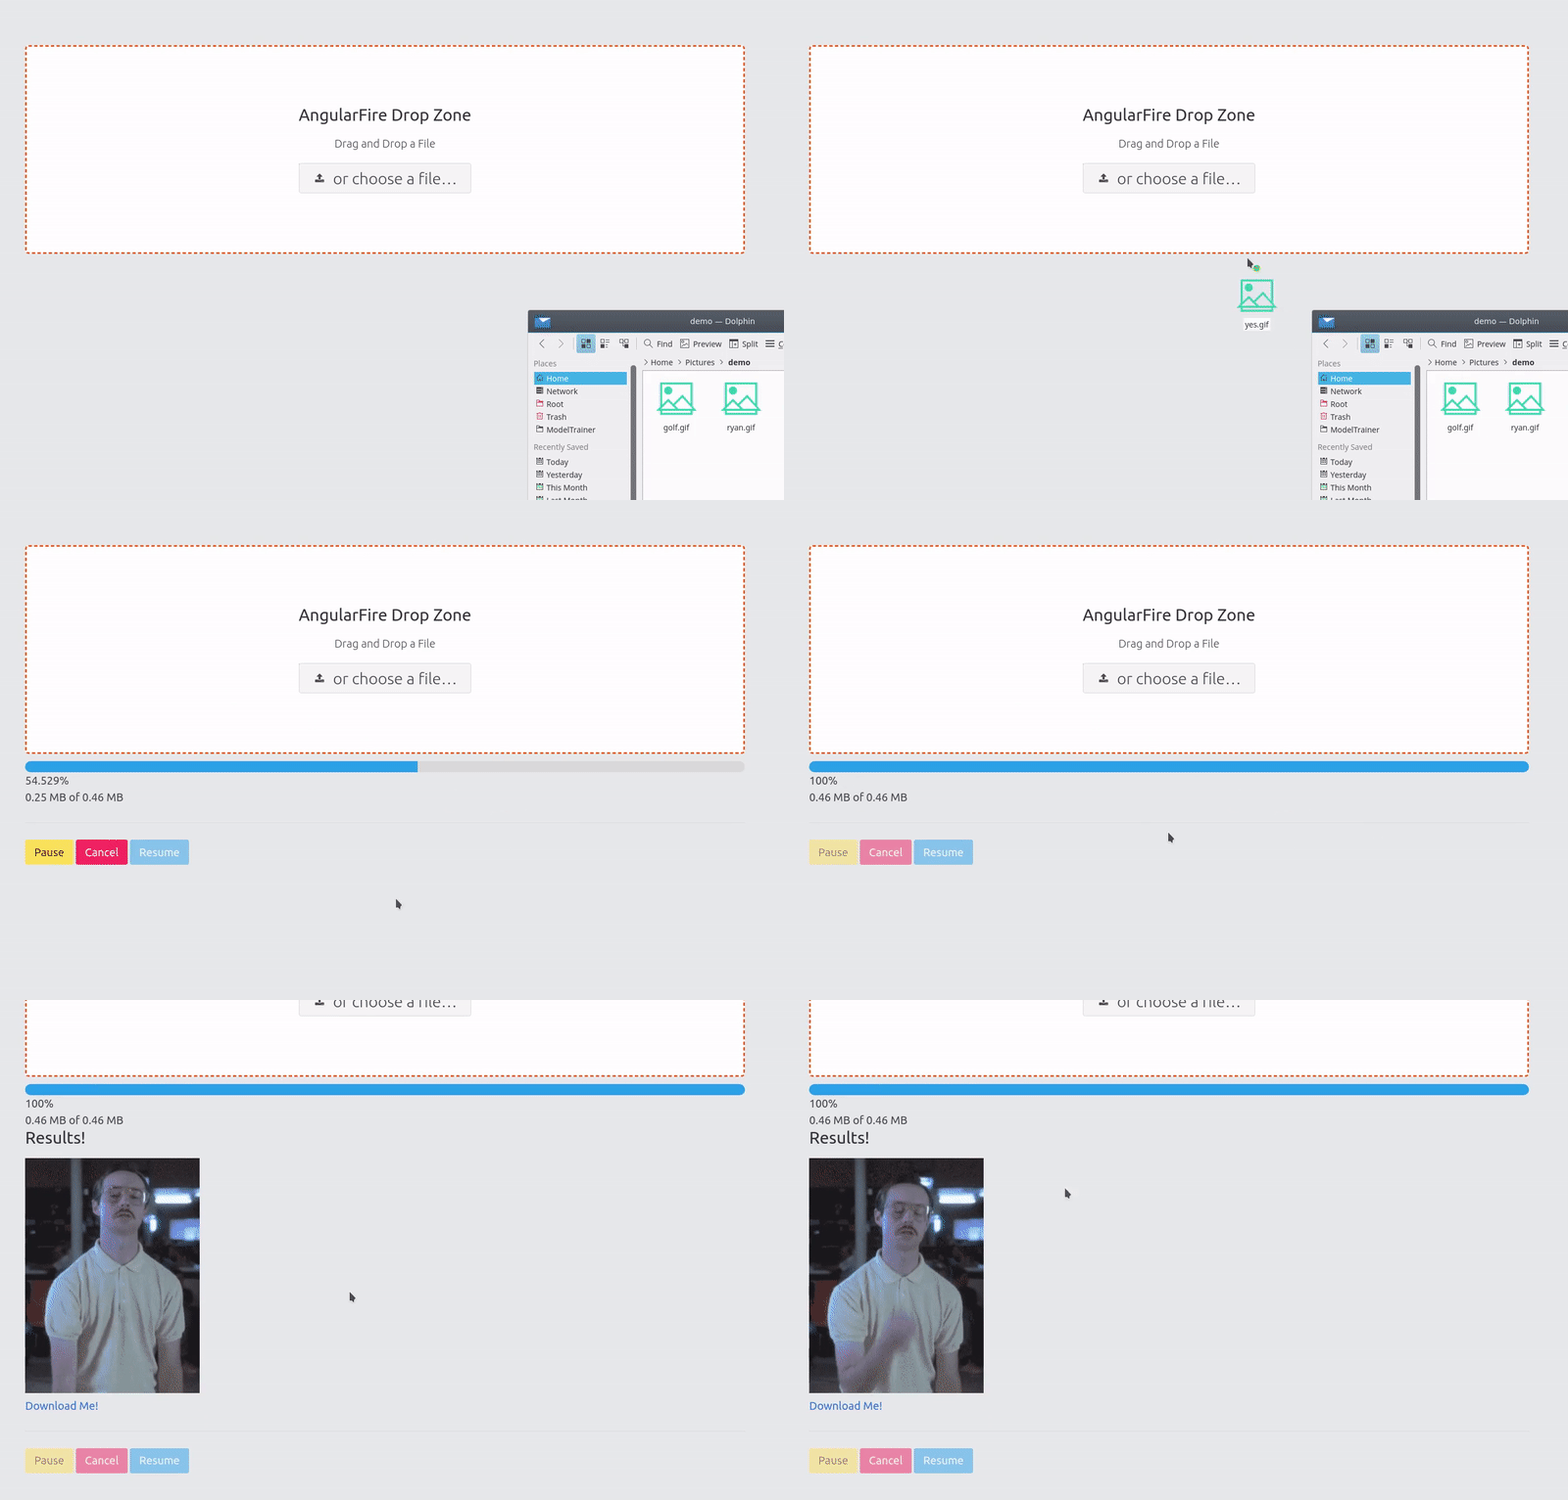
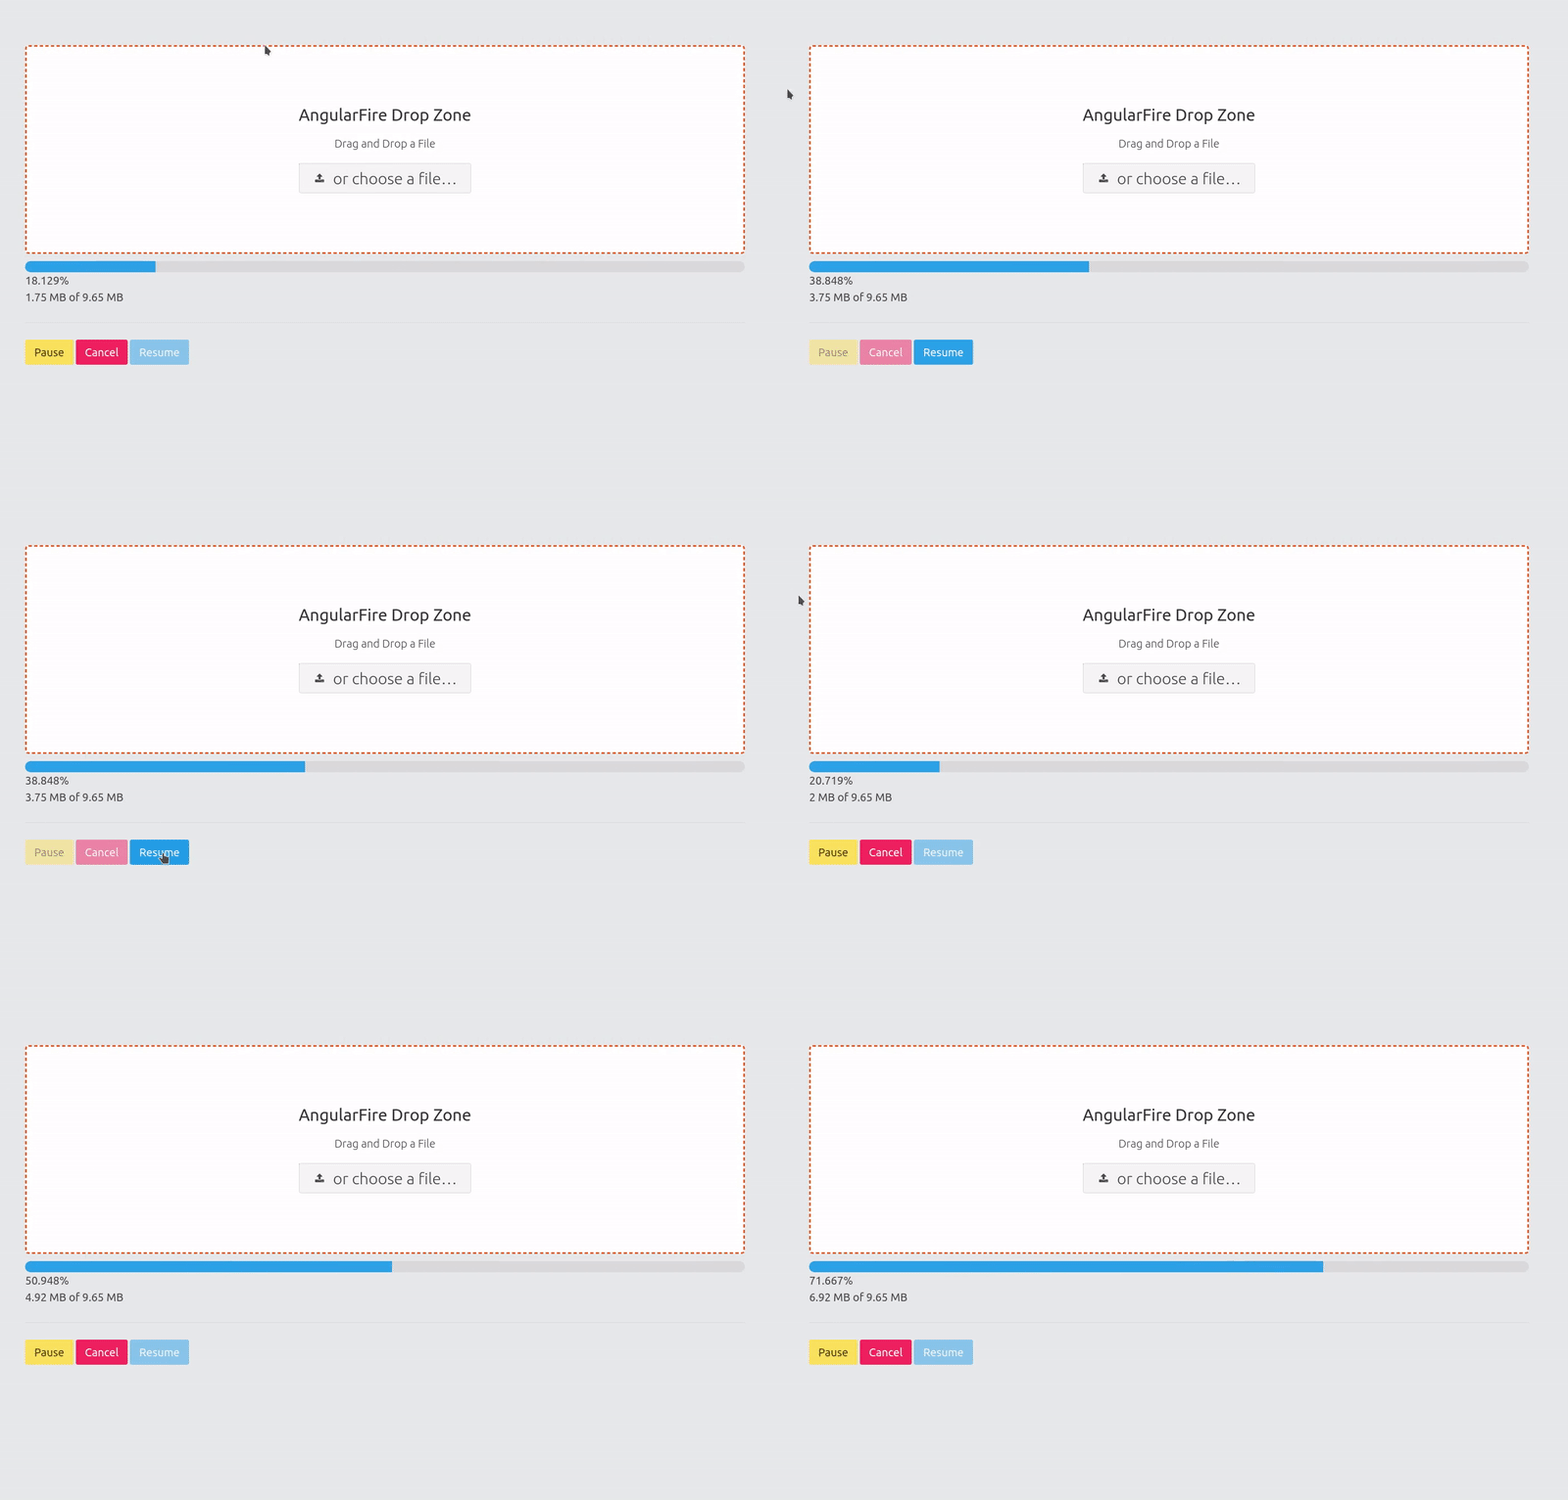
In this lesson, I will show you how to take advantage of the brand new AngularFireStorageMoudule to build a dropzone file uploader from scratch. The look and feel is inspired by DropZone.js, but it does not actually use this library whatsoever - we’re building our own Angular version from scratch. In addition to uploading files to Firebase Storage, it can also monitor the upload task progress and provides UI buttons to pause, cancel, or resume the upload.
Grab the full source code for my angularfire2 storage demo.

Initial Setup
First things first, you need to have a firebase account and project, then follow the official setup guide for AngularFire2. Your app module should look something like this.
import { environment } from '../environments/environment'; |
Firestore is not required, but I want to show you how to save the storage file path in the database so it can be accessed after the initial upload.
Drop Zone Directive
Generate a custom directive to handle drag/drop activity.
ng g directive dropZone |
Custom Drop Event and FileList
A dropzone is nothing more than an <div> that listens for the drop event. In our case, it emits the dropped FileList off to AngularFire to do all the uploading magic.
In addition to the drop, the directive will also listen to dragover and dragleave to emit a custom hovered event used to toggle CSS classes. When a user drags over the drop zone, it will add a solid border to the div to indicate that the file is ready to be dropped.
import { Directive, HostListener, HostBinding, Output, EventEmitter } from '@angular/core'; |
The File Upload Component
The FileUploadComponent will handle the the actual file upload task.
ng g file-upload |
file-upload.component.ts
The AngularFireUploadTask object is the crux of the component. Here are some important points to keep in mind:
- Calling
storage.upload(path, file)creates a task that will start the upload immediately, no need to subscribe. - You know an upload is complete when
bytesTransferredequaltotalBytes. - You monitor progress by subscribing to
percentageChangesorsnapshotChangeson the task.
import { Component, OnInit } from '@angular/core'; |
file-upload.component.html
The user has two UI options for uploading a file. (1) They can drop a file into the dropzone div or (2) click the choose file button to bring up the file select screen on their device. In both cases, we will listen for the event to emit a FileList object, then fire startUpload handler.
<div class="dropzone" |
Just below our DropZone, we give the user some feedback about the upload progress and a few buttons to pause, cancel, or resume the current task. When the user clicks pause, the progress bar should stop in place.

<div *ngIf="percentage | async as pct"> |
file-upload.component.scss
The CSS is very simple, just a flexbox with everything centered and an extra class for the hovering state. The progress bar can be animated with just simple CSS transition - otherwise it will look jerky as it uploads the file in chunks. FYI, I am also using Bulma for the base CSS, so you will need that to fully replicate the look of this drop zone and buttons.
Make sure to add a CSS transition animation to the progress bar to smooth out the steps.
.dropzone { |
Bonus 1 - Save File Information in the Firestore Database

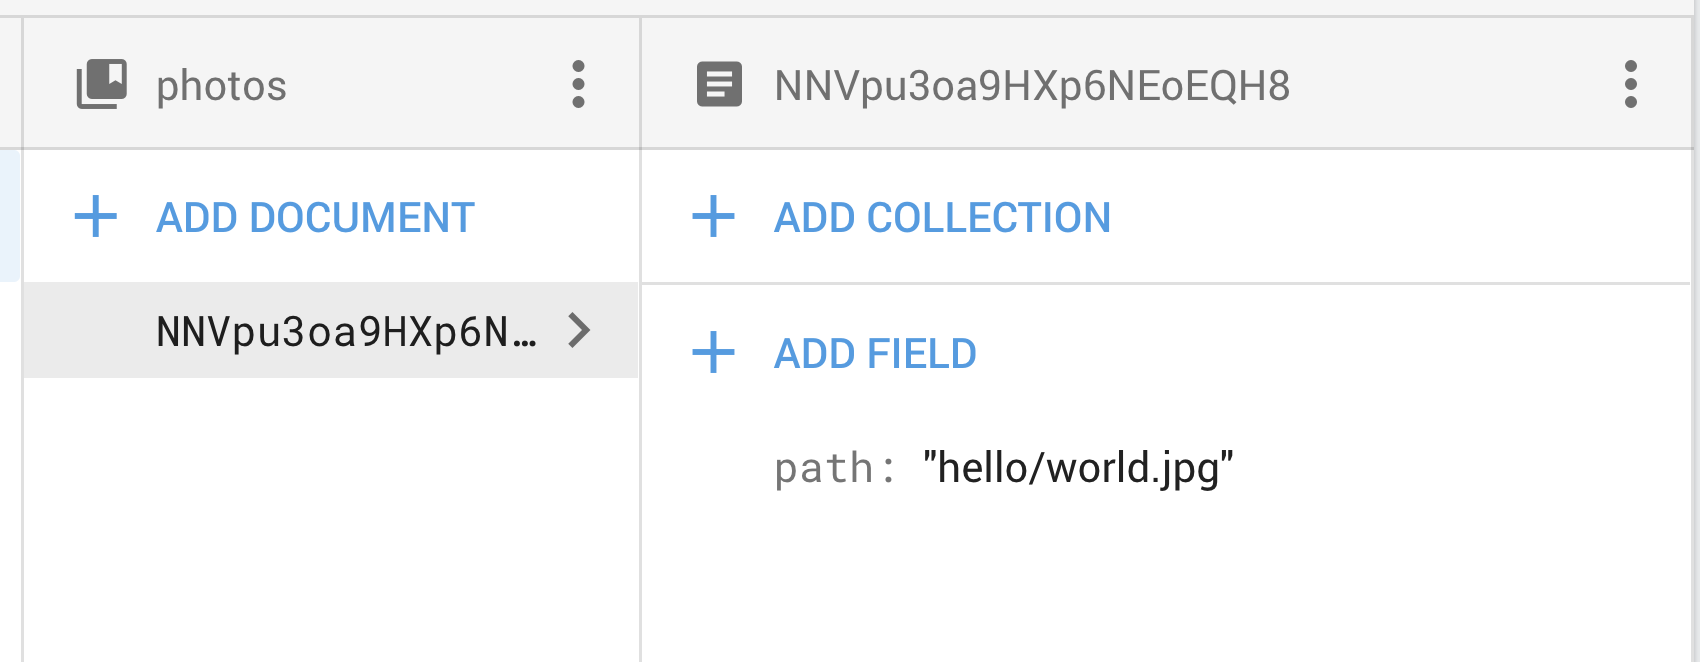
You’re probably wondering how a user might access image data after the initial upload. We can save the path to the file in Firestore for easy access at a later time with just a few modifications to the file-upload.component.ts code.
First, inject AngularFirestore in the constructor. Second, pipe in the tap operator to the snapshot Observable to fire an update to database when the task is complete.
import { AngularFirestore } from 'angularfire2/firestore'; |
Bonus 2 - File Size Pipe
In the component HTML, we used the fileSize pipe to convert raw bytes to strings that look like 23KB, 0.23MB, etc. This code is almost identical to the Custom Pipes code provided by Rangle.io.
ng g pipe fileSize |
import { Pipe, PipeTransform } from '@angular/core'; |
The End
Overall, I am very happy to see the Firebase storage support in AngularFire. It fits nicely with the existing API and makes file upload features incredibly simple to implement in Angular.

