
You have unlimited access as a PRO member
You are receiving a free preview of 3 lessons
Your free preview as expired - please upgrade to PRO
Contents
Recent Posts

- Object Oriented Programming With TypeScript
- Angular Elements Advanced Techniques
- TypeScript - the Basics
- The Real State of JavaScript 2018
- Cloud Scheduler for Firebase Functions
- Testing Firestore Security Rules With the Emulator
- How to Use Git and Github
- Infinite Virtual Scroll With the Angular CDK
- Build a Group Chat With Firestore
- Async Await Pro Tips
Ionic Splash Screen Animation
Episode 88 written by Jeff Delaney
Every successful mobile app has one thing in common - a beautiful splash page and home screen icon. In this lesson, I will show you how to quickly customize your splash page and app icon in Ionic, then animate the splash intro.
Native mobile developers need to think about the appearance of these images across many devices - phones, tablets, and watches - all of which have different screen sizes and resolutions. Luckily, we can generate dozens of graphics in one fell swoop with the Ionic CLI.
There are several other tutorials that cover this topic, but they all leave you with ugly white screen upon initial entry. I’ll show you how to solve this issue to create a more polished transition.
Full source code for Ionic splash animation.
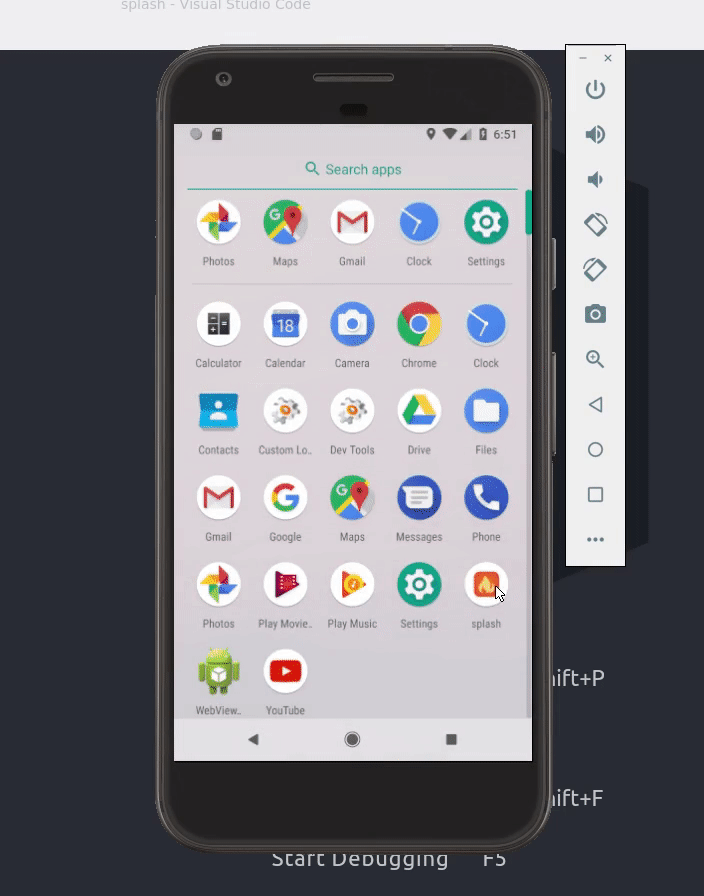
Generate an Ionic Splash Screen and App Icon with the CLI
You only need two source images to get started - an app icon that users will click from their device and the initial splash graphic.

Save the Images
Override the default graphics below with your custom images.
/resources/icon.png- at least 1024x1024px/resources/splash.png- at least 2732×2732px
Using the CLI
Make sure you have a native mobile platform added to the project.
ionic cordova platform add ios |
Now generate image resources for your app by running the following command from the terminal.
ionic cordova resources |
This should have magically created or updated the resource images in your project.
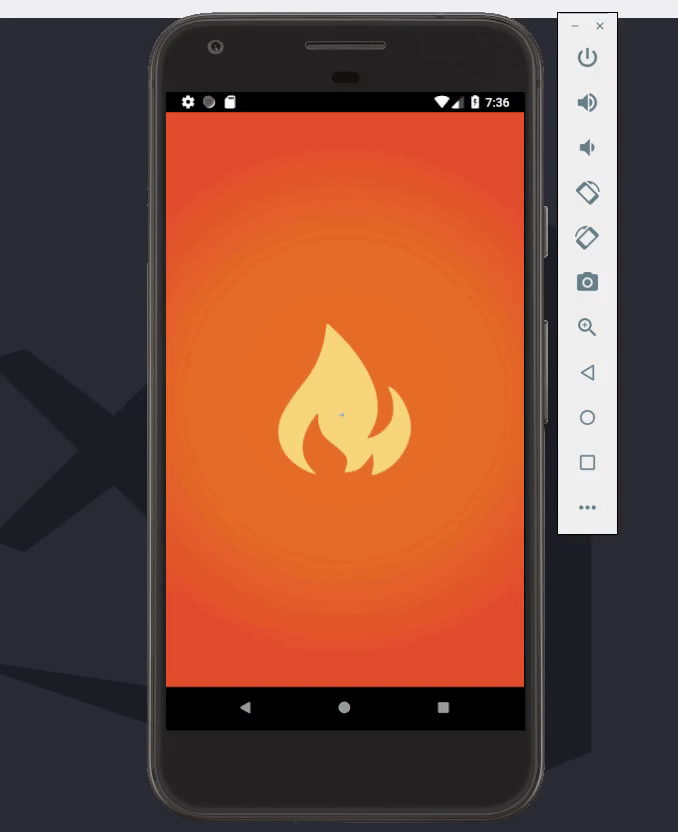
Animated Splash Screen
It you really want to impress your users, consider using an animated splash screen.
You can implement a nice looking animation with minimal effort by using an pre-built open source loader.
- SpinKit - Pure CSS Loaders
- SVG-Loaders
- Loading.io - Animated SVG Loaders
Avoiding the White or Gray Screen
If you’ve followed other tutorials about animated splash screens with Ionic, you’ve probably run into a 1 or 2 second white/gray screen before your animation loads. In my opinion, that completely crushes the polish we want from the animation.
BAD - Notice the brief 1 to 2 second white screen that flashes before the animation below.
GOOD - The best workaround in my opinion is to transition gracefully from your static image to the animation.
Update the Default Splash Screen Config
Our strategy is to show a static image splash first, then seamlessly blend in the animation. The CSS background will closely match the image background color, but we will hide the image as soon as possible when the platform becomes ready.
Update the config.xml file with the following lines.
<!-- omitted --> |
Hide and Show the Animation
In the app.html, we just need a div that will act as an overlay for several seconds after the platform is ready.
<div *ngIf="showSplash" class="splash"> |
In the app.component.ts, we import an RxJS timer that will toggle the visibility of the overlay after 3000ms.
import { timer } from 'rxjs/observable/timer'; |
Animation Styles
The animation style is just an overlay that will expand to 100% width and height of the viewport. I am also using flexbox to center the content directly in the middle of the screen in a way that is responsive across devices. Add the styles in app.scss.
.splash { |
You can grab the spinner CSS from the open-source SpinKit project.
The End
It feels good to start off a new project with a suite of good looking graphics. I hope this gives you an idea of how to quickly customize the app icon and splash page in your next Ionic mobile app.