You have unlimited access as a PRO member
You are receiving a free preview of 3 lessons
Your free preview as expired - please upgrade to PRO
Contents
Recent Posts

- Object Oriented Programming With TypeScript
- Angular Elements Advanced Techniques
- TypeScript - the Basics
- The Real State of JavaScript 2018
- Cloud Scheduler for Firebase Functions
- Testing Firestore Security Rules With the Emulator
- How to Use Git and Github
- Infinite Virtual Scroll With the Angular CDK
- Build a Group Chat With Firestore
- Async Await Pro Tips
Reactive Forms in Angular With the Firebase Database
Episode 34 written by Jeff Delaney
Angular’s reactive forms are an excellent way to manage large complex form groups. In this lesson, we will use a reactive form to update realtime data in the Firebase Database.
What is a reactive form?
Reactive forms (as opposed to Template-driven forms) are synchronous and build form controls in the TypeScript.
Template-driven forms are asynchronous and build form controls in the HTML.
Reactive forms do not use the ngModel directive. You can read more about this in the Angular sync vs async docs.
A reactive form manages the state between a data model (a Firebase object in this case) and a UI form on the frontend. The main advantage of reactive forms is the ability to define complex logic and validation in the TypeScript. In addition, they solve timing issues related to component lifecycle when using large nested forms.
What we’re Building

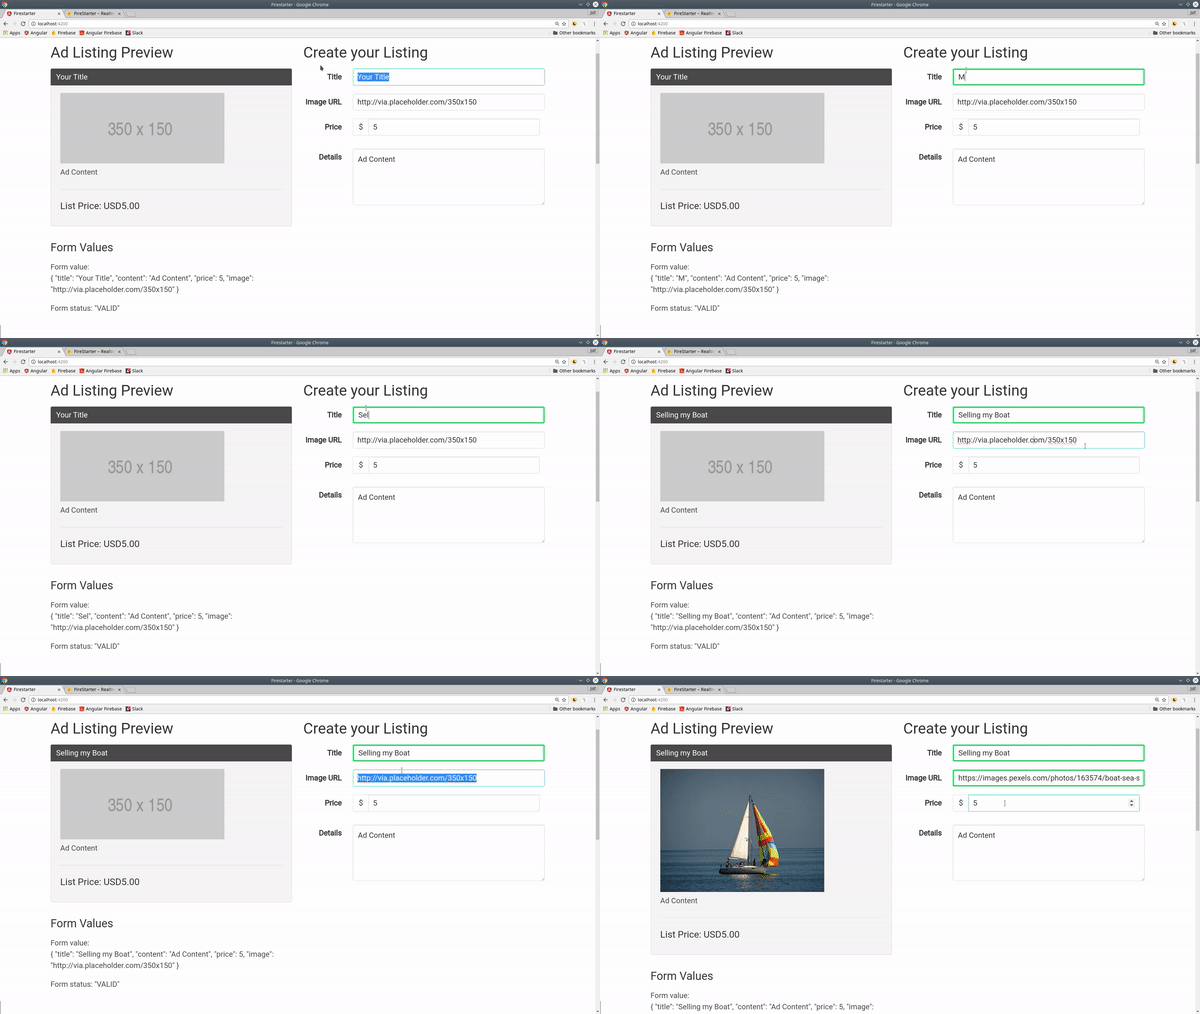
We are going to build a form that allows users to create classified ad - similar to CraigsList.com.
- Accept user input
- Run validation rules on changes
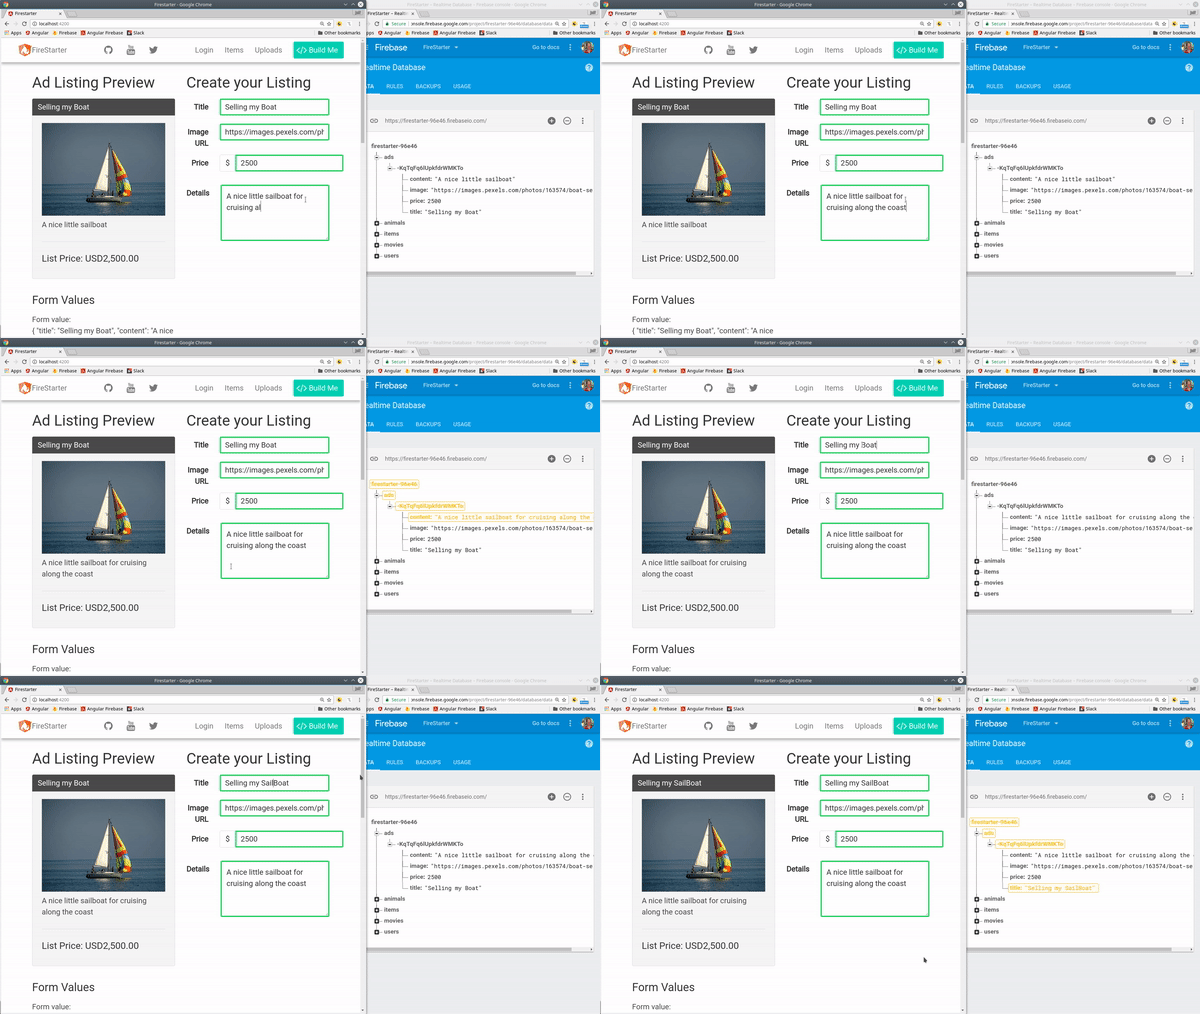
- Update the Firebase Database on the fly
Initial Setup
In this demo, I am using Bulma CSS to style the validation messages. If you’re using Bootstrap or Material, you will need to modify the CSS accordingly.
app.module.ts
First, you need to add the ReactiveFormsModule the the module that uses it.
import { ReactiveFormsModule } from '@angular/forms'; |
Let’s also create a typescript class to add some default values to our data. This part is optional, but it makes the concept of reactive forms more clear for this tutorial.
export class AdListing { |
Building the AdService
ng g service ad |
startNewAdListing()saves the default data to firebase and initializes the reactive form.saveAdChanges()updates Firebase whenever data in the form changes (and is valid).buildForm()will mirror the structure of our data and it is where validation rules are defined. It will then subscribe to the database object and update the form with existing realtime values.
ad.service.ts
import { Injectable } from '@angular/core'; |
Building the Form
ng g component ad-listing |
ad-listing.component.ts
import { Component } from '@angular/core'; |

When a change event fires from the form, we should see the Firebase database updated automatically.
ad-listing.component.html
There is a large amount of HTML related to presentation in this snippet, so let’s start with the bare essential concepts. This is how you connect a FormGroup to the HTML form element.
|
add a form input
Now let’s add an input field for the title. Notice formControlName="title" - this is the magic line that associates the input to the adForm. When the form value changes the saveAdChanges() will fire and update the Firebase database. Lastly, ngClass applies conditional styling to the form depending on its state.
|
the entire styled form
And now I will dump the entire form with all it’s Bulma styles from the video lesson. There is some duplication here that could be improved, but I wanted to share the full code used in the video.
<div class="content columns" *ngIf="ad"> |
That’s it for reactive forms. Let me know what you think in the comments.

