You have unlimited access as a PRO member
You are receiving a free preview of 3 lessons
Your free preview as expired - please upgrade to PRO
Contents
Recent Posts

- Object Oriented Programming With TypeScript
- Angular Elements Advanced Techniques
- TypeScript - the Basics
- The Real State of JavaScript 2018
- Cloud Scheduler for Firebase Functions
- Testing Firestore Security Rules With the Emulator
- How to Use Git and Github
- Infinite Virtual Scroll With the Angular CDK
- Build a Group Chat With Firestore
- Async Await Pro Tips
Passwordless Authentication With Firebase for Web Apps
Episode 94 written by Jeff Delaney
Passwordless auth - or email-link signup - is a cool new user authentication option in the Firebase SDK that was released in v4.12.0 on March 20th, 2018. Rather than force a user to remember a password, we simply send them an email with a link that creates the JSON Web Token when they redirect back to the site. As a user of apps, I see this method quickly replacing traditional passwords and personally find it much more user-friendly.
In this lesson, you will learn how to onboard new users by creating a frictionless sign-in flow for any progressive web app. Here’s how it will look step-by-step.
- User enters an email address into our Angular app.
- Firebase emails the user a login link.
- The link redirects the user to back our app with an auth code.
I’ll be writing this code in Angular, but it’s all Promise-based and can be easily adapted for Vue, React, or vanilla JS.
Full source code for Firebase password-less auth demo.
Step 1 - Initial Setup
This feature is brand new to the Firebase SDK at the time of this post, so make sure your SDK is up to date.
npm install firebase@latest --save |
Let’s also generate a new Angular app and login component with the Angular CLI.
ng new awesomeApp --routing |
Enable Email Link Sign-In
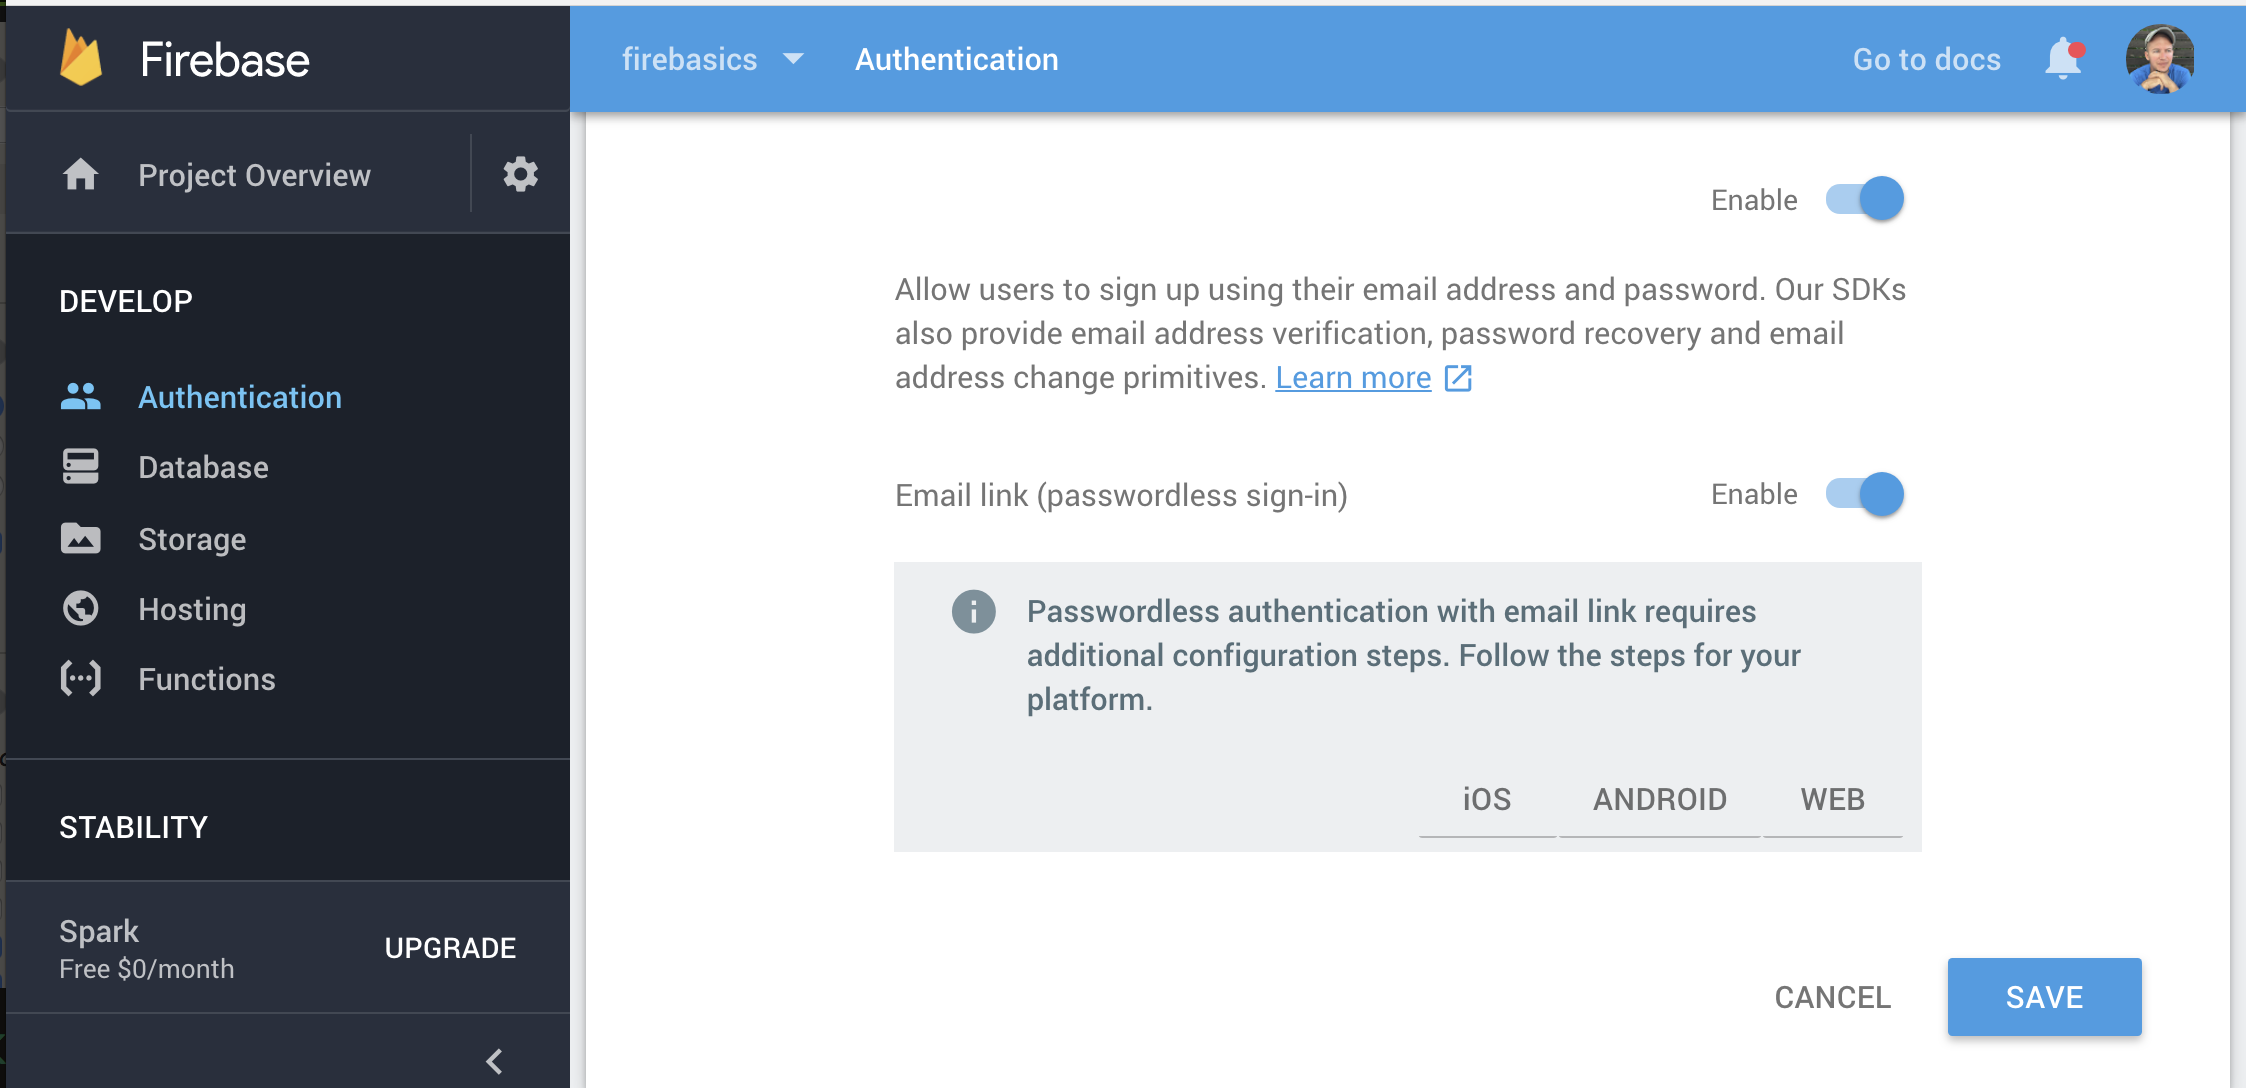
First, go into the Authentication tab on the Firebase console and enable the email-link method.

Setup the Redirect URL
We need a URL to redirect the user after they click the link in their email. In this case, I am routing the component to http://localhost:4200/login
const routes: Routes = [ |
Step 2 - Send the Email
Now we need to collect the user’s email and send them a login link. After clicking the login link, they will be redirected by to the specified URL, at which point we need to sign them in.
In this example, a single component is used to handle the entire process, but you could break this into separate parts.
import { Component, OnInit } from '@angular/core'; |
The HTML needs ngModel from Angular to bind the form value to the component.
<label for="email" class="label">Passwordless Auth</label><br> |
Define the Action Code
Now we need to collect the user’s email and send them an email.
Make sure to change the URL value when deploying to production. It would be a good idea to add this to environment.ts
const actionCodeSettings = { |
Trigger the Email
Now let’s define a method that will fire off the email when the user clicks the login button. Notice how the email address is being saved to localStorage - this is necessary to prevent session fixation attacks where a hacker could intercept the URL and highjack the user session. If the email is missing, we need to prompt the user to enter it again upon redirect.
Why the async function? (1) We can wrap it in a try/catch block to prevent any Angular concerns about touching the DOM window object.
async sendEmailLink() { |
If all went according to plan, you should get an email like this in your inbox when triggering the sendEmailLink method above.
Here’s how it looks from my Gmail account:

Step 3 - Handle the Link Redirect
The user must return to our site with the same email. Because we saved it to localStorage in the previous step, this process should be seamless. But if the user decides to open the link on a different device, it will be necessary for them to re-enter the email with a browser prompt.
async confirmSignIn(url) { |
The End
I’m really excited to see passwordless auth in Firebase. It is quite popular among Auth0 users and is a very effective way to onboard new users without the hassle and security vulnerabilities of passwords. Let me know if you have questions in comments or on Slack.

