You have unlimited access as a PRO member
You are receiving a free preview of 3 lessons
Your free preview as expired - please upgrade to PRO
Contents
Recent Posts

- Object Oriented Programming With TypeScript
- Angular Elements Advanced Techniques
- TypeScript - the Basics
- The Real State of JavaScript 2018
- Cloud Scheduler for Firebase Functions
- Testing Firestore Security Rules With the Emulator
- How to Use Git and Github
- Infinite Virtual Scroll With the Angular CDK
- Build a Group Chat With Firestore
- Async Await Pro Tips
Router Transition Animations With Angular 4
written by Jeff Delaney
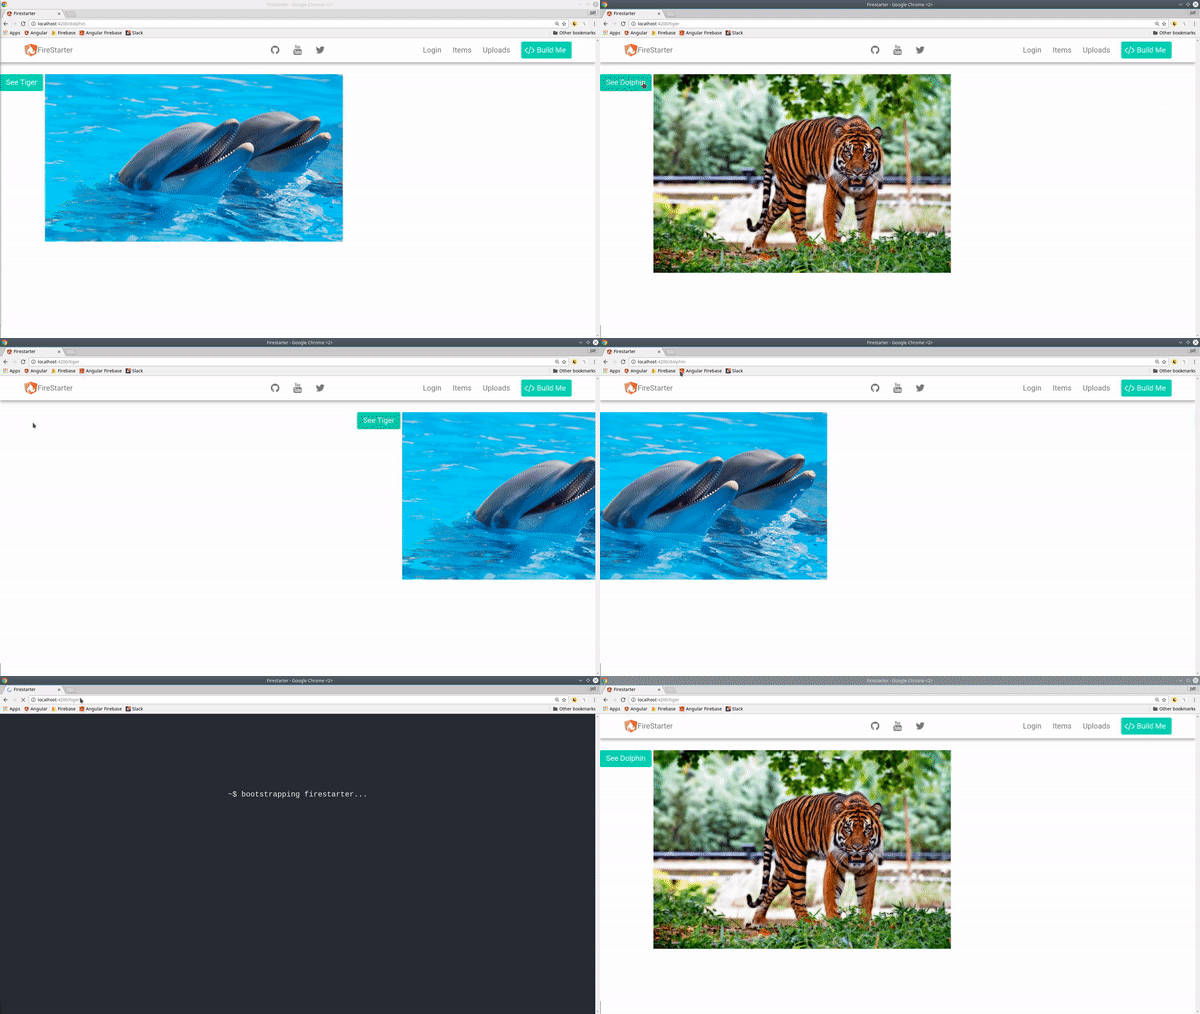
In this snippet, we create a router transition using new animation features added in angular 4.2. It works by wrapping the router with a parent div, then we pass custom animation data through the router outlet. This snippet was inspired by the examples presented here and here.

Animating the Router Outlet in App Component
Angular 4.2 introducted a new feature that adds :enter and :leave pseudo elements to anything using the animation directive, such as [@routerAnimation] in this example.
app.component.ts
The animation process works in 3 logical steps.
- Define a style that hides the element by default
- Define a style to hide the page when a route is deactivated
- Define a style to show the page when a route is activated.
import { Component} from '@angular/core'; |
app.component.html
First, wrap the router with an element and apply the animation directive. Second, make a template reference variable #route to the router outlet and pass it as the argument to the getRouteAnimation function.
<div [@routerAnimation]="getRouteAnimation(route)"> |
App Router
In the router, custom data is passed to individual routes to define the animation state. You can use this data to define any number of custom transitions in the animation code. Currently, we are apply the same transition to all state changes.
app.routing.module
In this example, we have a couple routed components that have been given their own custom animation data. Whenever these routes are activated they will trigger a state change in the animation and the transition effects will be applied.
const routes: Routes = [ |
That’s it for routable animations with Angular. Let me know what you think in the comments.

